Recently, my family and I embarked on our first trip to Yosemite National Park. The breathtaking scenery left us in awe, and I felt compelled to share our experiences and tips with future Yosemite travelers.
Please note that our travel considerations as a family, including a child, may differ from those of singles or groups of friends. Additionally, as we are from Asia and have a preference for Asian cuisine, our food choices might also vary.
Table of Contents
- Why Yosemite and not somewhere else?
- Accommodation and how long to stay
- What to bring for the trip
- What it’s like driving to Yosemite from the west coast
- Recommended Itinerary
- Share this with a friend
Why Yosemite and not somewhere else?
We live in California and we haven’t been to Yosemite. I didn’t plan a lot of time in advance so when it came close to Spring break for our child, I asked a few friends where they would recommend us to go. A knowledgeable friend mentioned Yosemite if we are into nature and hiking and not skiing. So I started to zoom into Yosemite as a potential destination. We did some basic research on Google and found bits of information across a number of sites like the Yosemite national park website or this post for first-time visitor, or this video on Youtube. I showed this video from Expedia to my wife and daughter to get them excited and wanted to go :).
Accommodation and how long to stay
As a family and a first-timer to Yosemite, camping was never an option for us. Camping involves too many unknowns that I don’t feel comfortable with. So I needed to search for accommodation. From the above websites/videos, it seems clear that the park will be busy during spring break all the way through summer so while I did search for accommodation outside of the Yosemite Valley, it didn’t feel right to stay that far away.
For the first time, I needed something a bit easier to work with, even if I needed to pay a bit more money so we decided to stay within the Valley. It means there are really only three options Yosemite Valley Lodge, The Ahwahnee, or Yosemite View Lodge. We ended up staying at Yosemite Valley Lodge because of its location. I have no intel to share about the Ahwahnee or Yosemite View Lodge beyond what is already on Google Map.
Yosemite Valley Lodge
Do I recommend staying at Yosemite Valley Lodge? I don’t because the room we stayed in is dated and the receptionist wasn’t very helpful during check-in. But given that we didn’t plan that long in advance ( only 2 weeks before the actual date), it was great that we managed to book at a location inside the valley.
Staying inside the valley means you don’t need to drive to many trails or waste time finding parking spots.
The location of Yosemite Valley Lodge is perfect. You can start many trails from right outside your room. So that was a big bonus.
As for duration, 3 days and 2 nights should be enough for your first time and I will explain later.
We went to the cafeteria (aka Base Camp Eatery) to check out the food options and they weren’t great. They are basically fast food so if you have no other options, you have to go with it I guess. We did try it and we didn’t like the food.
Yosemite Valley Lodge does have two public microwaves (as of Apr 2022) so you can reheat your own food if you want to. One is near the reception area, and the other one is inside the gift shop. We didn’t know about the second microwave until the last day when we went into the gift shop. Inside the gift shop, they sell simple food items like instant noodles or beers. We brought some food ourselves and instant noodles.
What to bring for the trip
As mentioned above, we like to eat Asian food. Inside Yosemite Valley Lodge, they only serve western food though so if you are like us, bring as much food as you can with you. If you want to bring stuff like an electric water boiler for instant noodles, that is a good option too.
Besides food, bring as much water, ( or other types of drink), and fruit as you like so that you can bring them along the hike or consume them during the stay.
We tried the western food option at Yosemite Valley Lodge once and it was a huge disappointment.
The hiking boot is a must if you want to try strenuous trails like Glacier point (which I recommend in hindsight). Hiking sticks are optional, depending on your style/preference.
And of course, bring first aid kits or other necessities (cold medicine, etc…) with you.
What it’s like driving to Yosemite from the west coast
One thing that stood out for me before the trip was whether I needed to bring a tire chain. From the official website, they say that you need a tire chain until the end of Mar but you may not need it anymore from Apr to the summertime. I wasn’t sure as it was our first time so I called the hotel and asked. They said that while they couldn’t confirm as it depends on the weather, generally we don’t need one in Apr so we didn’t bring one.
Driving to Yosemite from the west coast means crossing some pretty dangerous (aka steep) and winding roads. We drove slowly through them. So the recommendation is to start early in the day. Our preferred stop along the way is Mcdonald’s because generally, they have clean toilets :D. Starbucks is hit-and-miss for us from a toilet cleanliness point of view. I am too lazy to research other good toilet options for each trip :P.
So if you are like us, take note that there is really only one Mcdonald’s at Oakdale. There is no other one between Oakdale and Yosemite Valley.
Recommended Itinerary
Day 1
Start early morning to drive to Yosemite Valley. Depending on how far you are from Yosemite and how much time you spend on lunch along the way, expect to be there early in the afternoon.
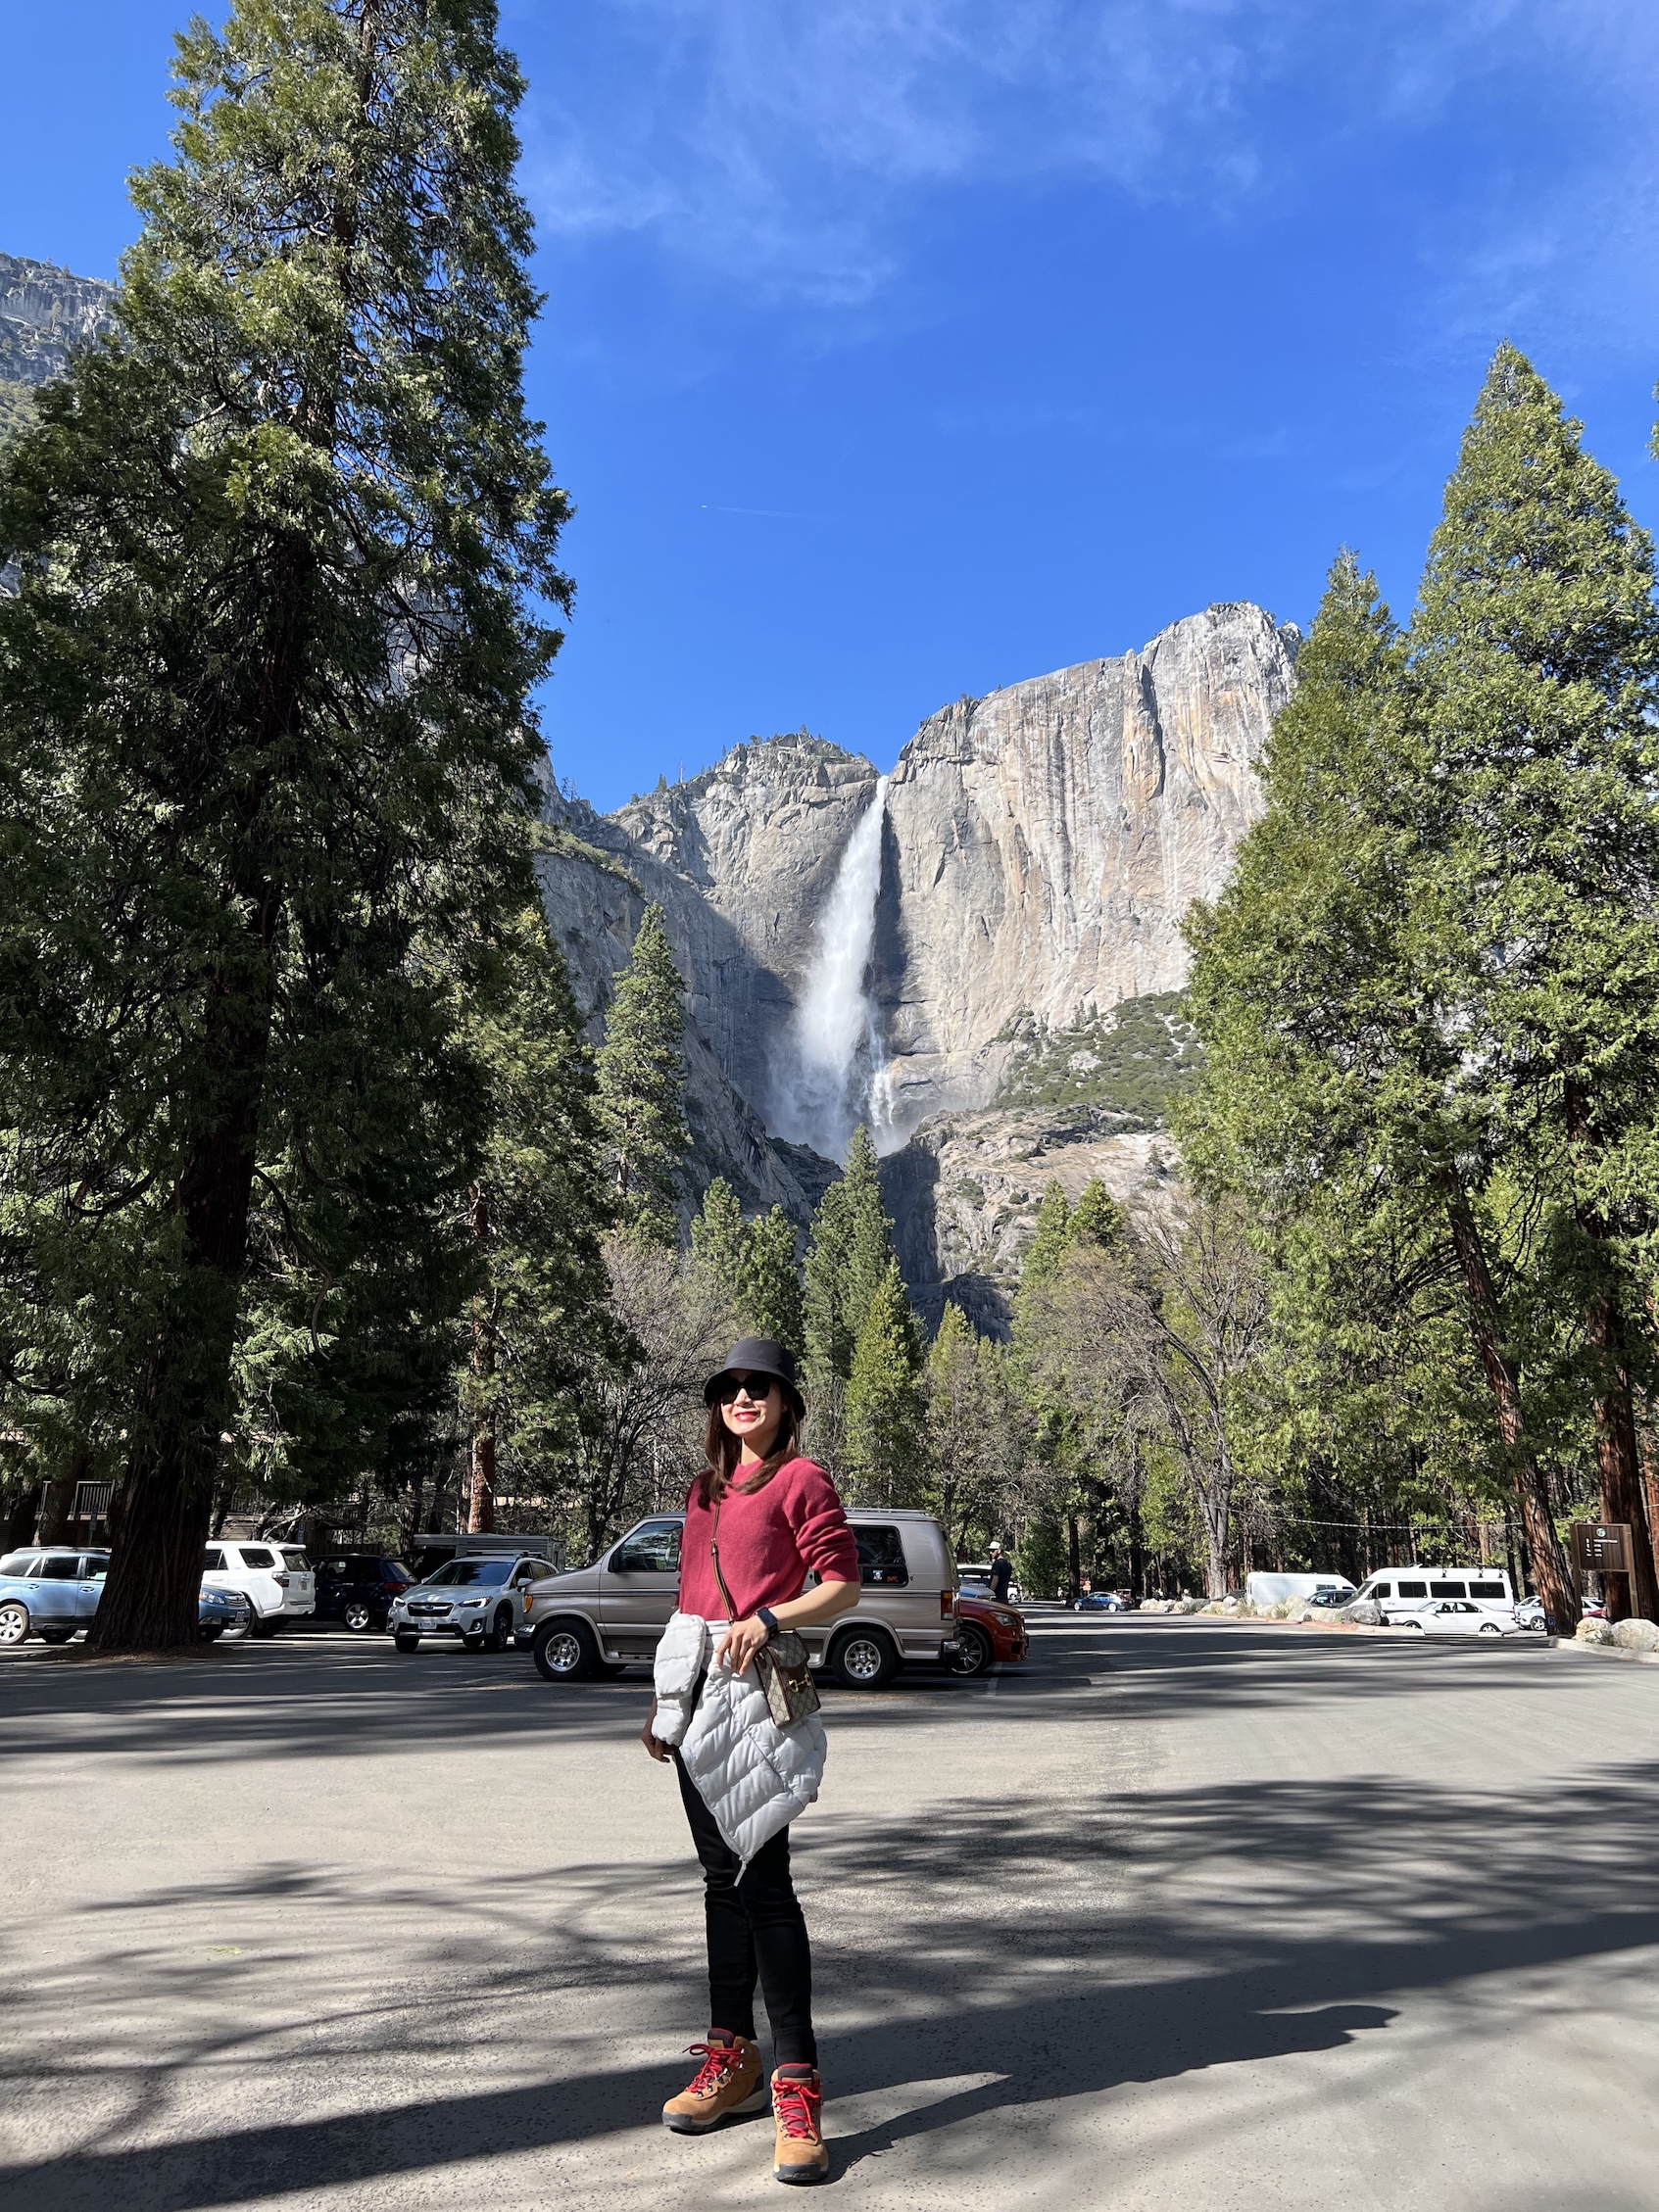
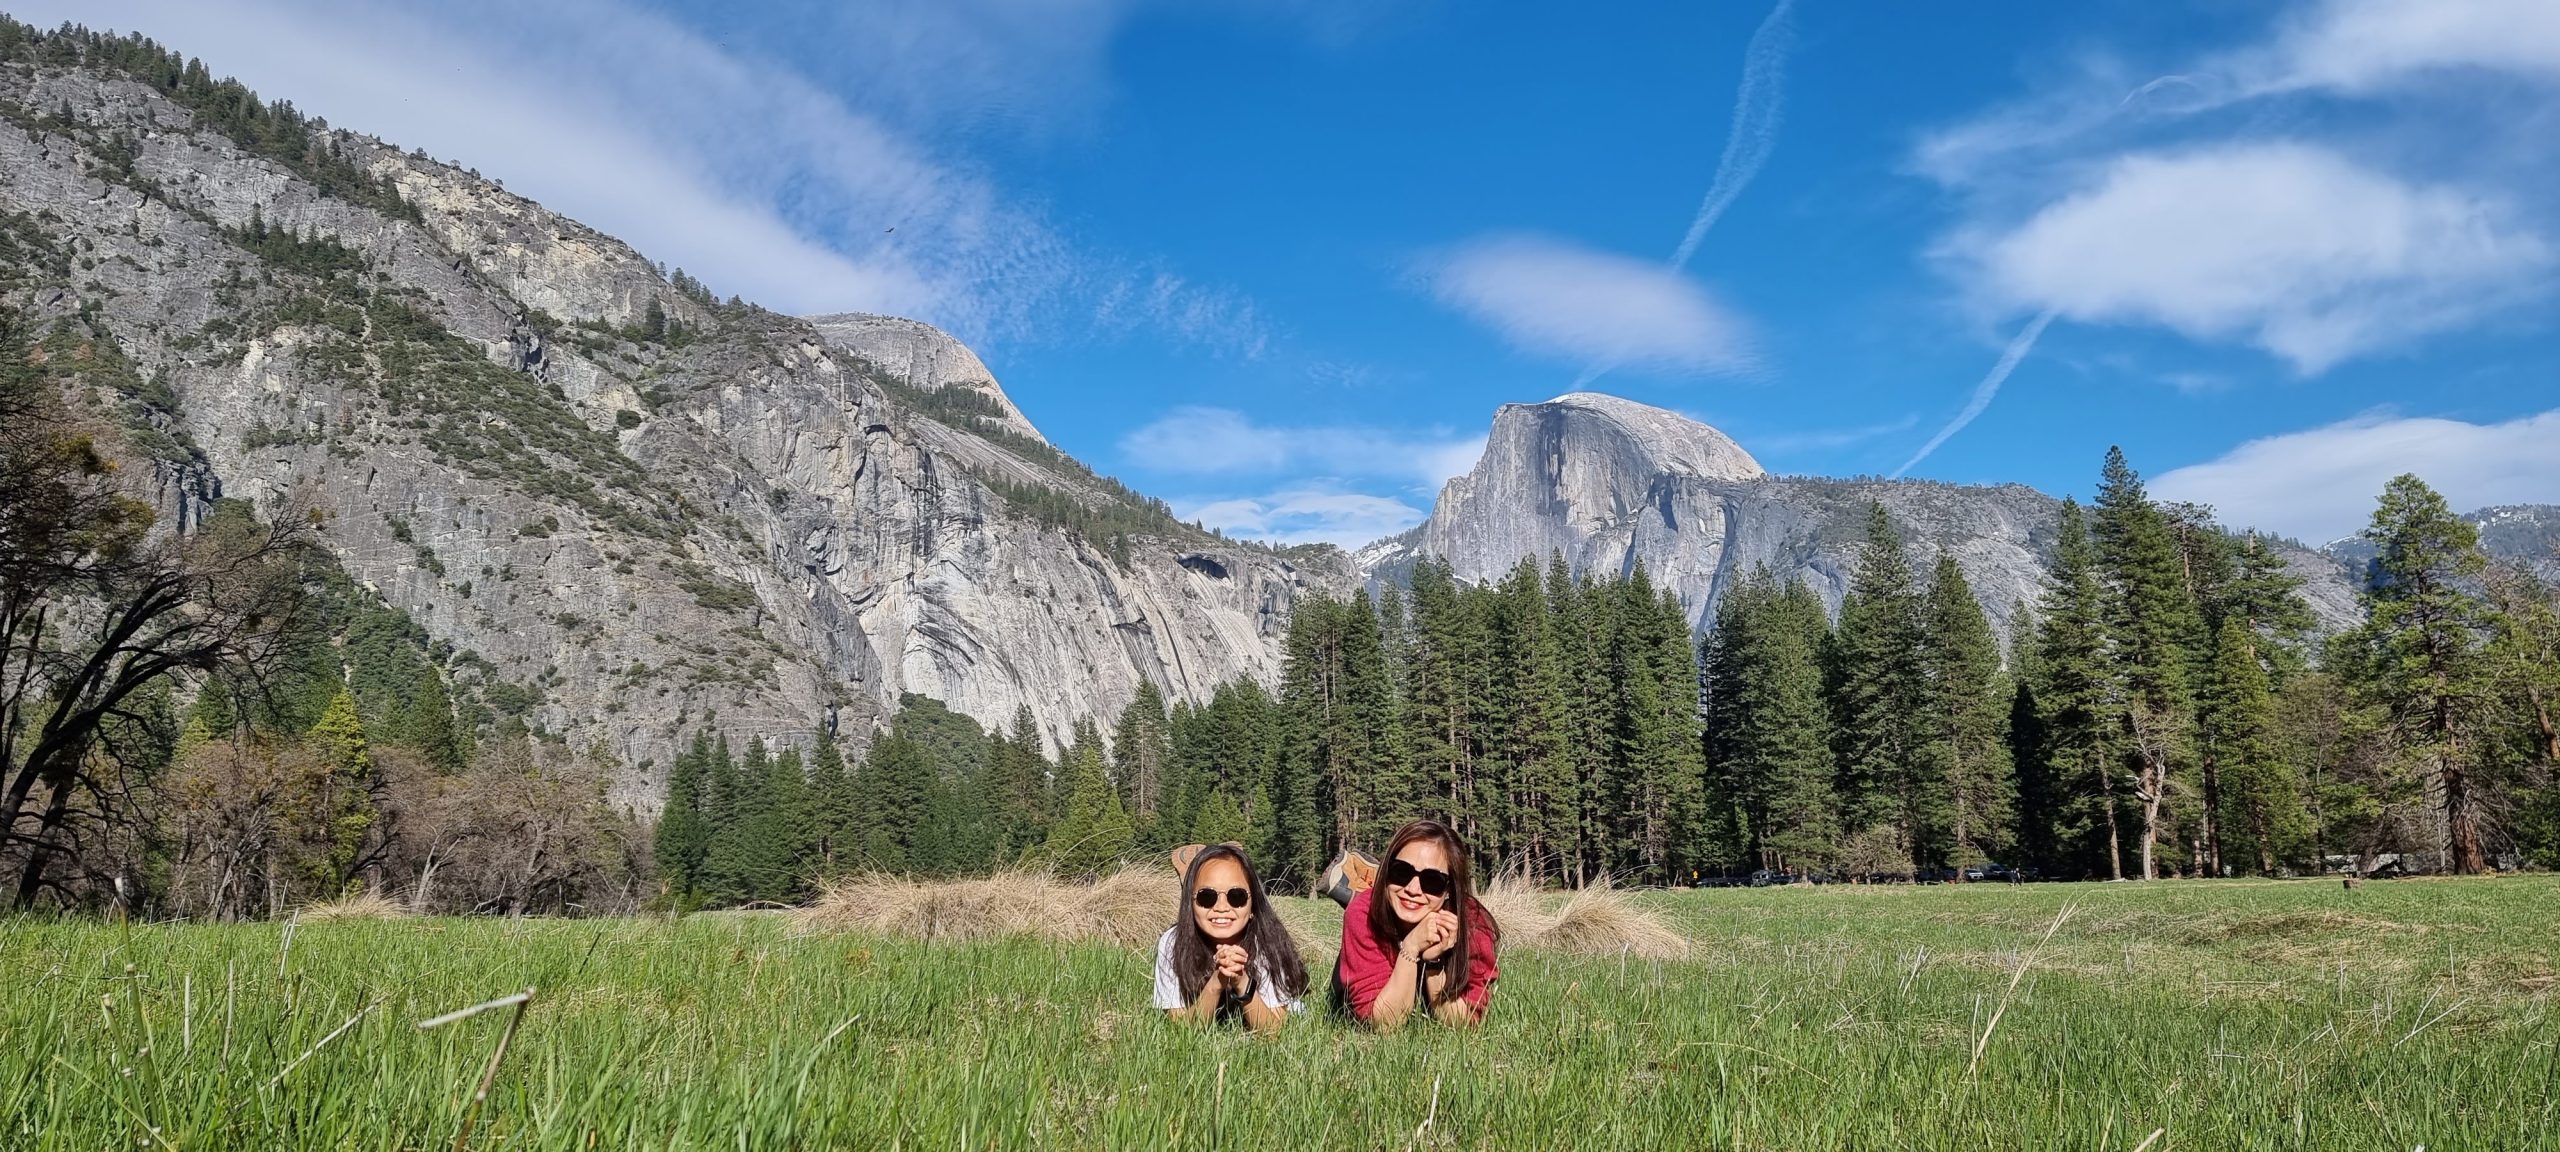
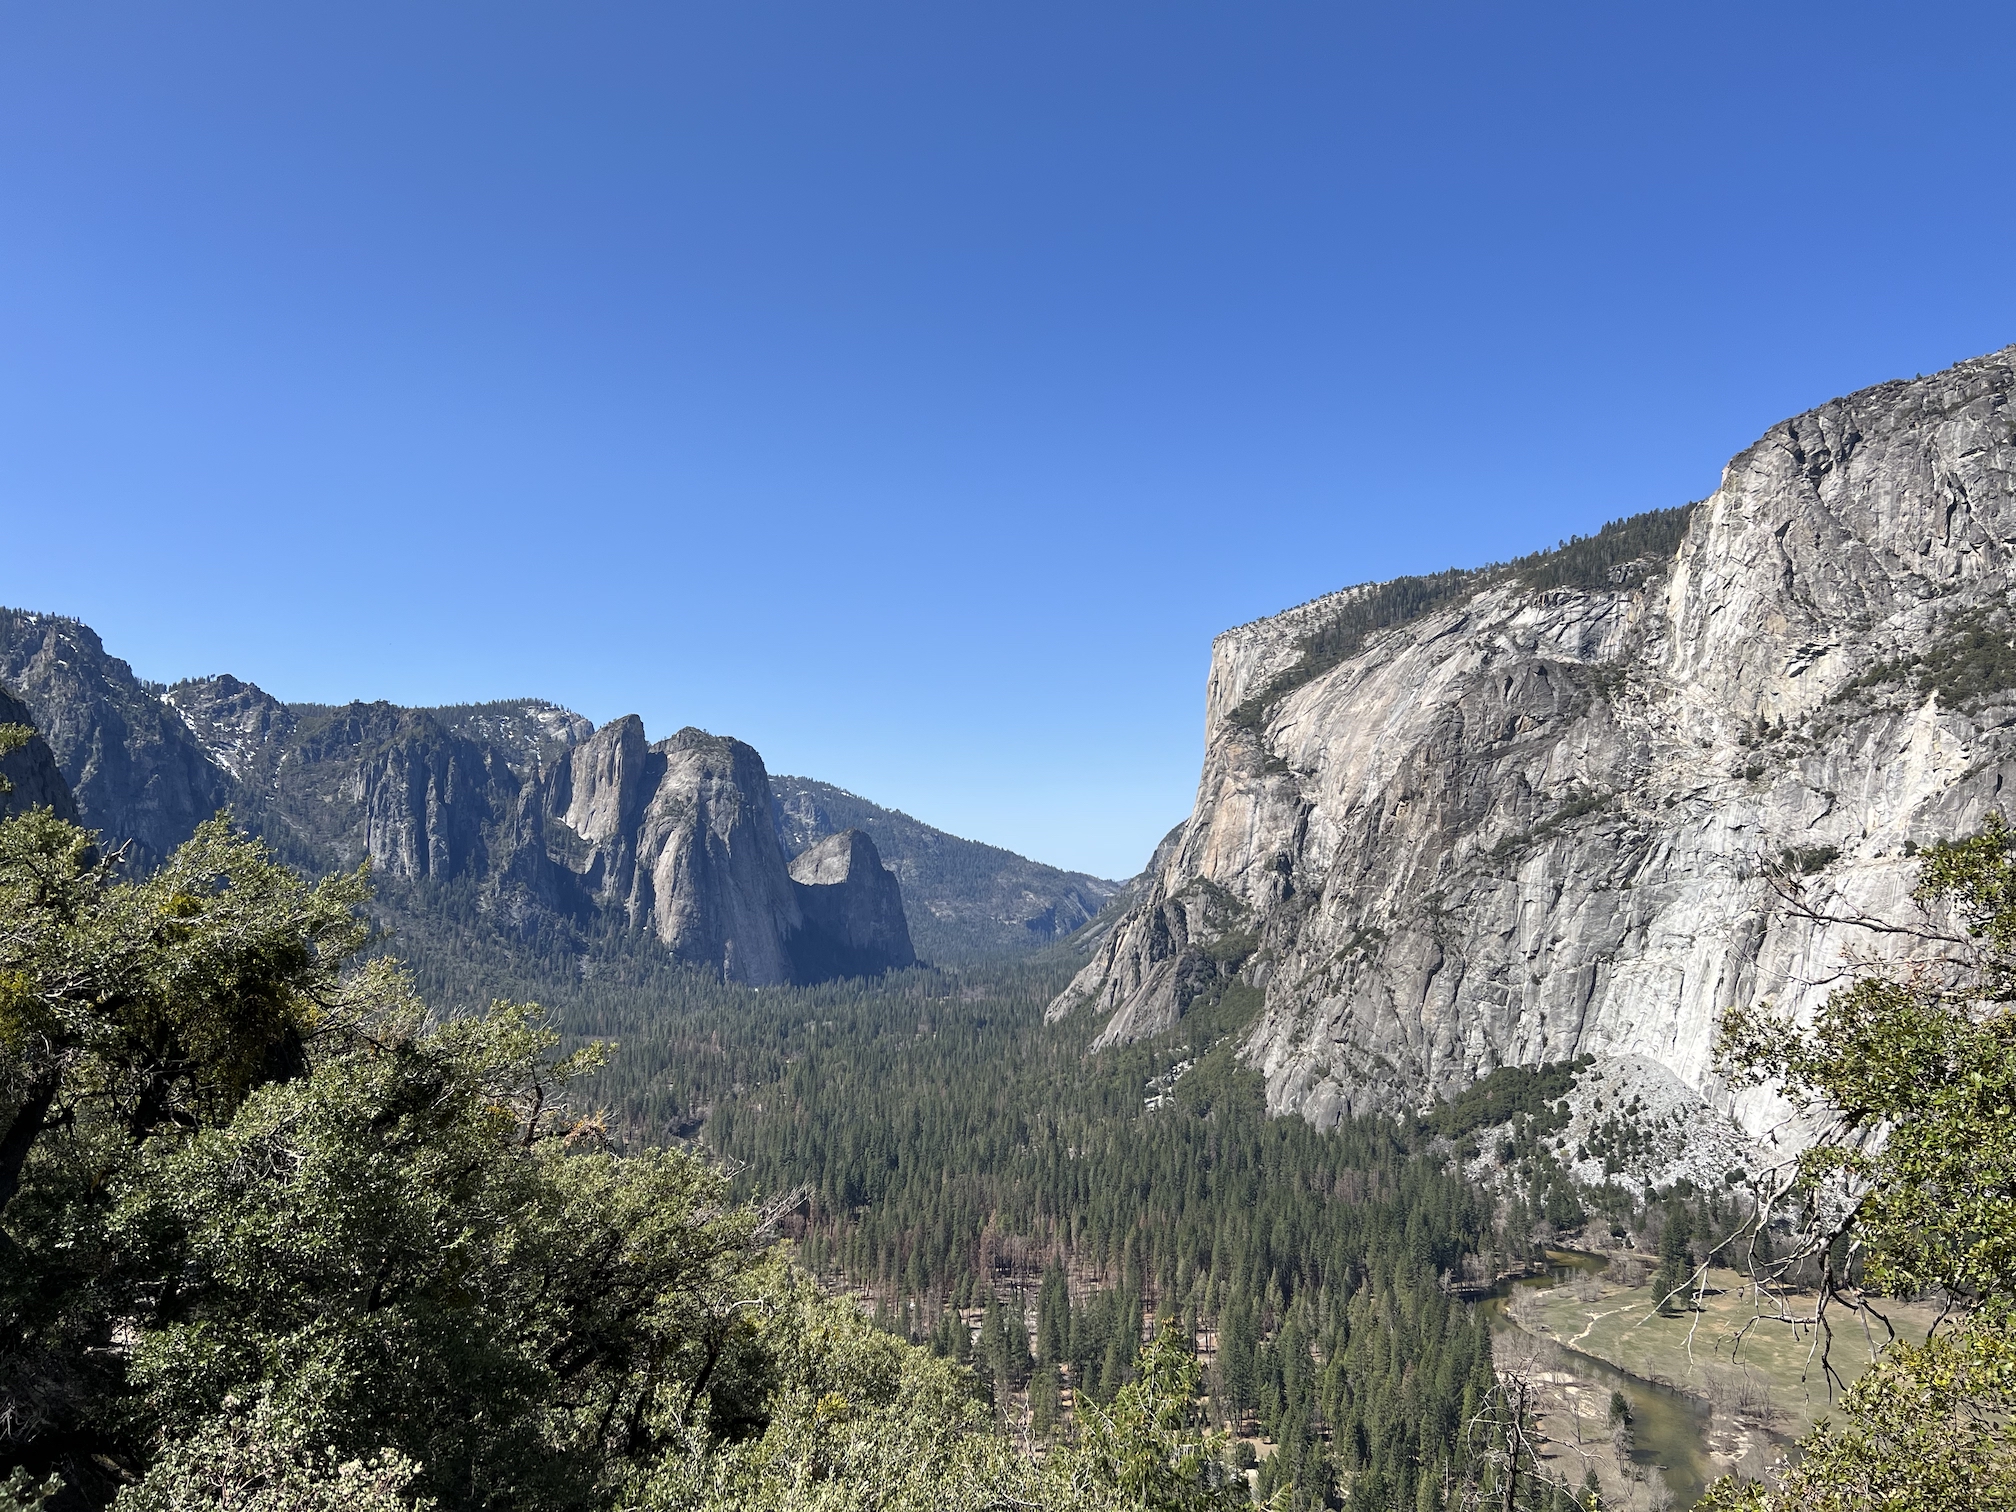
As we got closer to Yosemite Valley Lodge, we stopped multiple times along the way to take pictures as the scenery looks stunning.
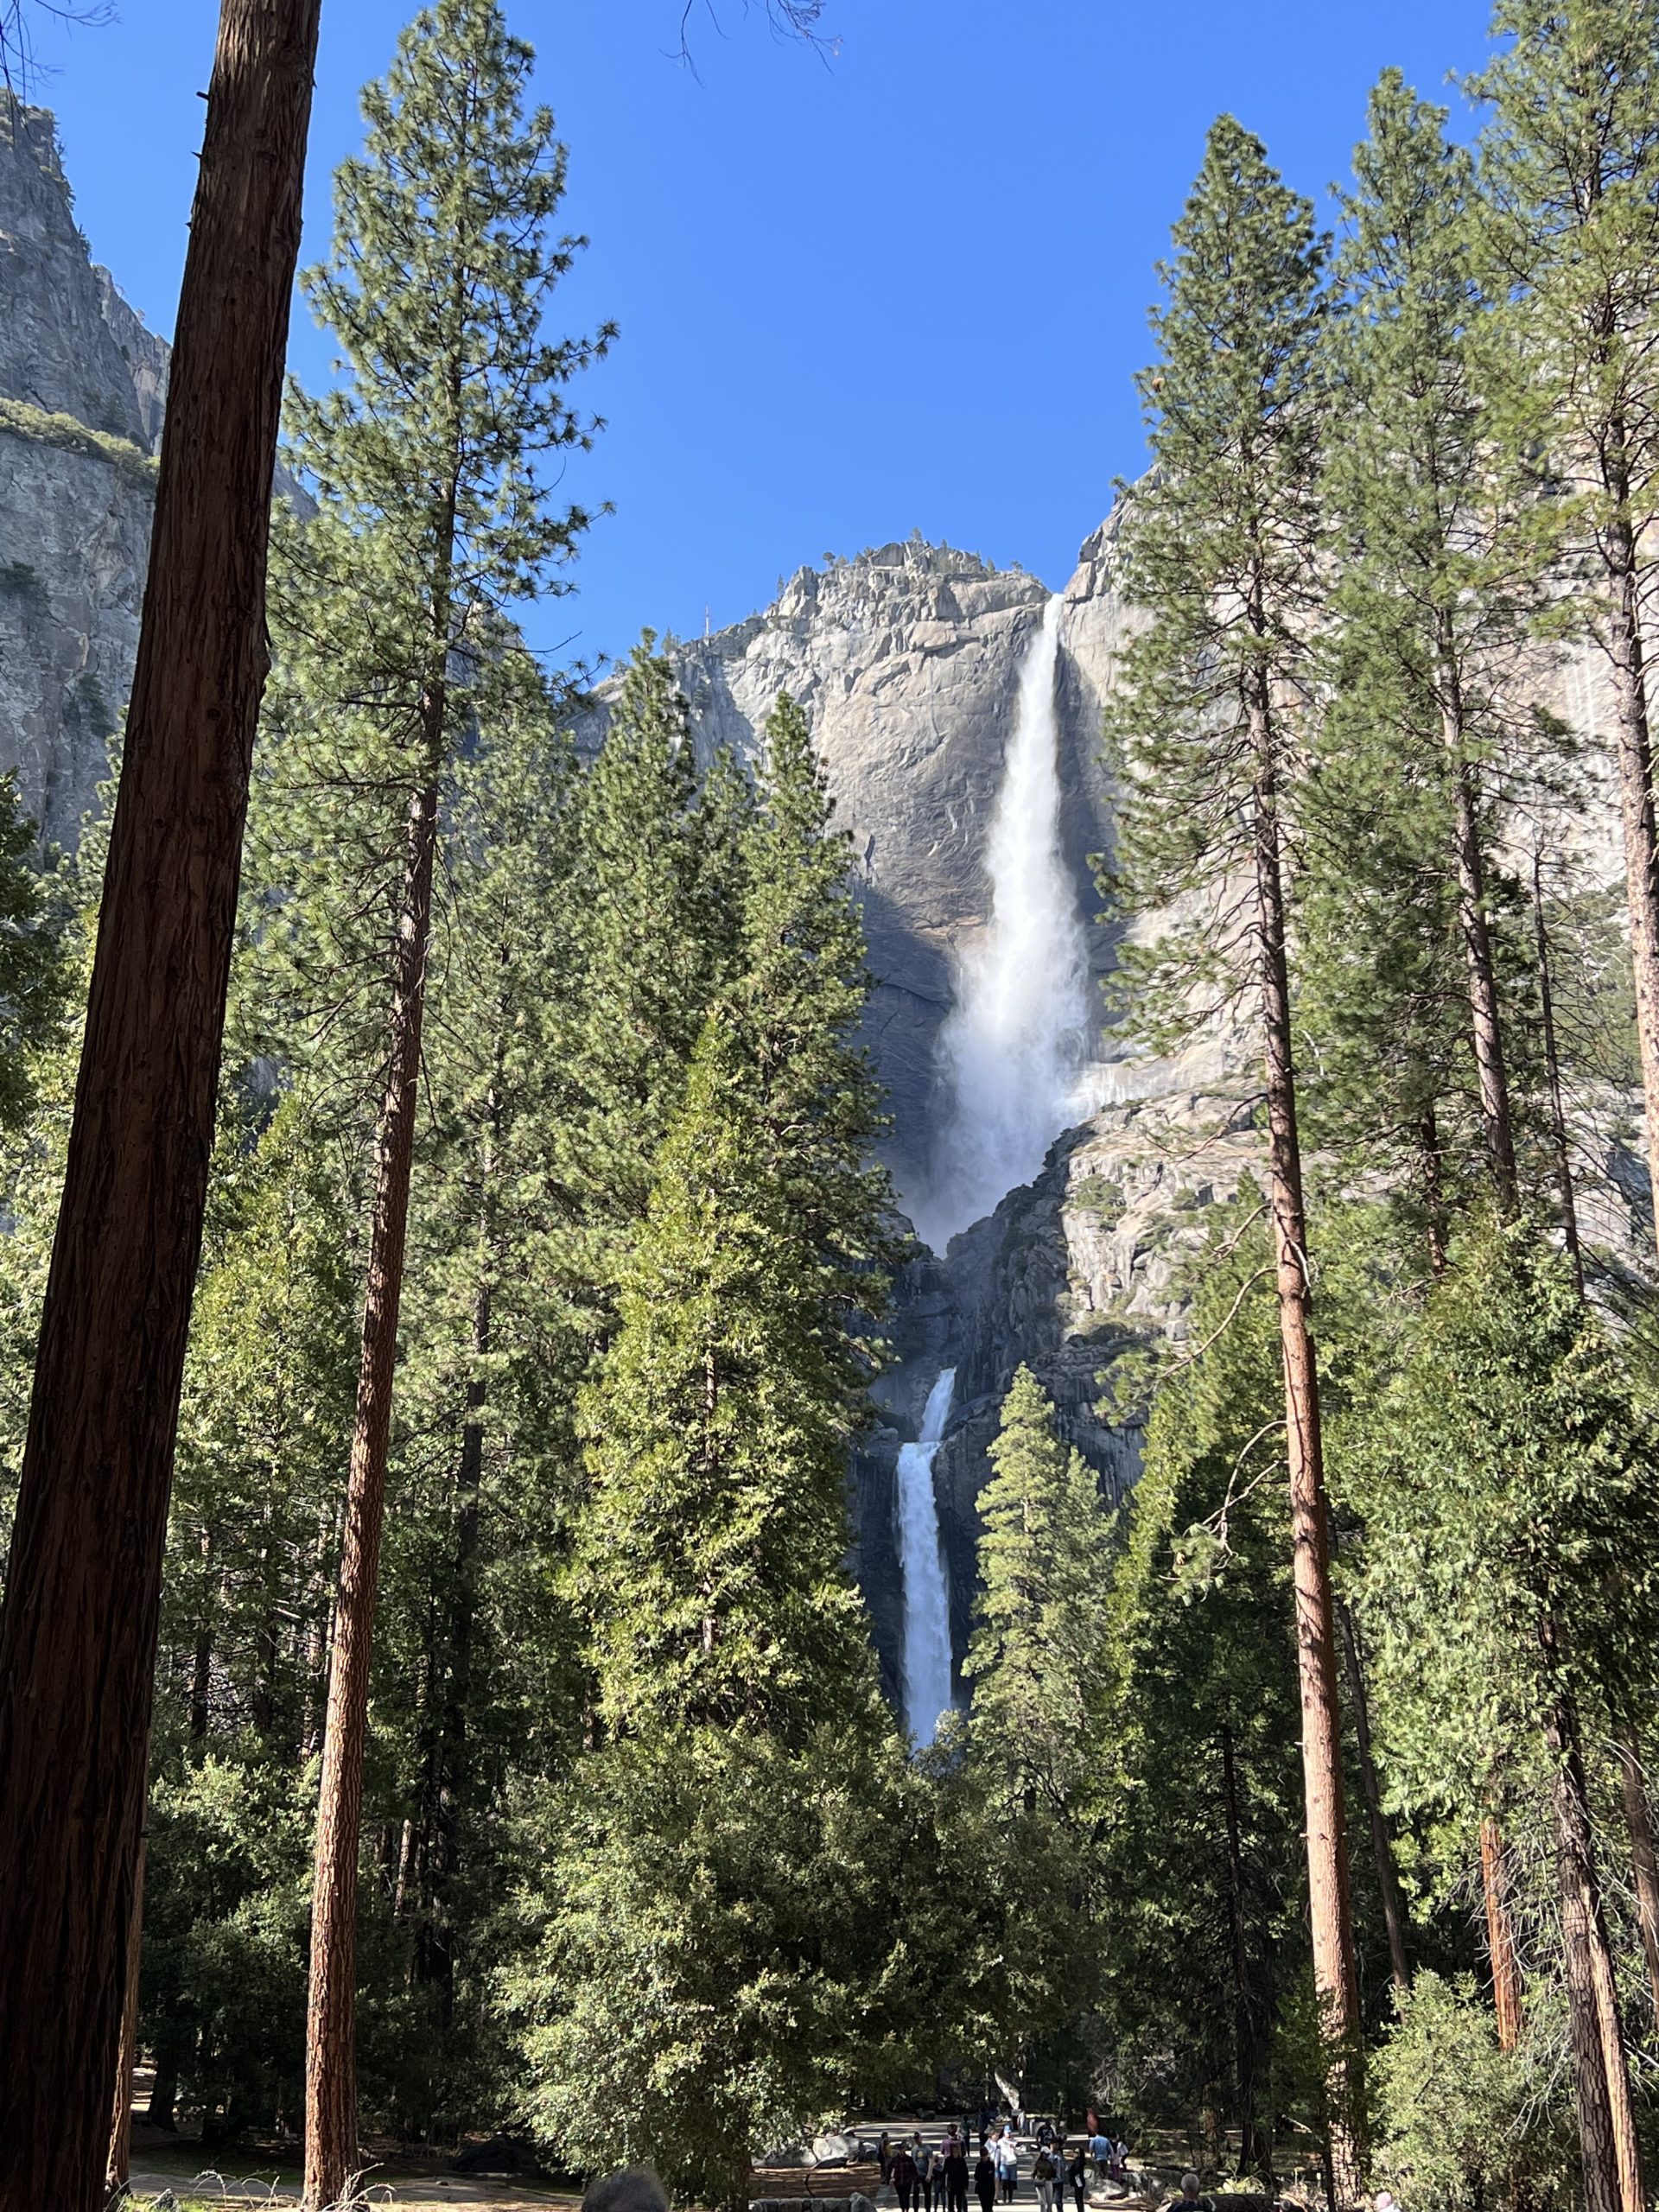
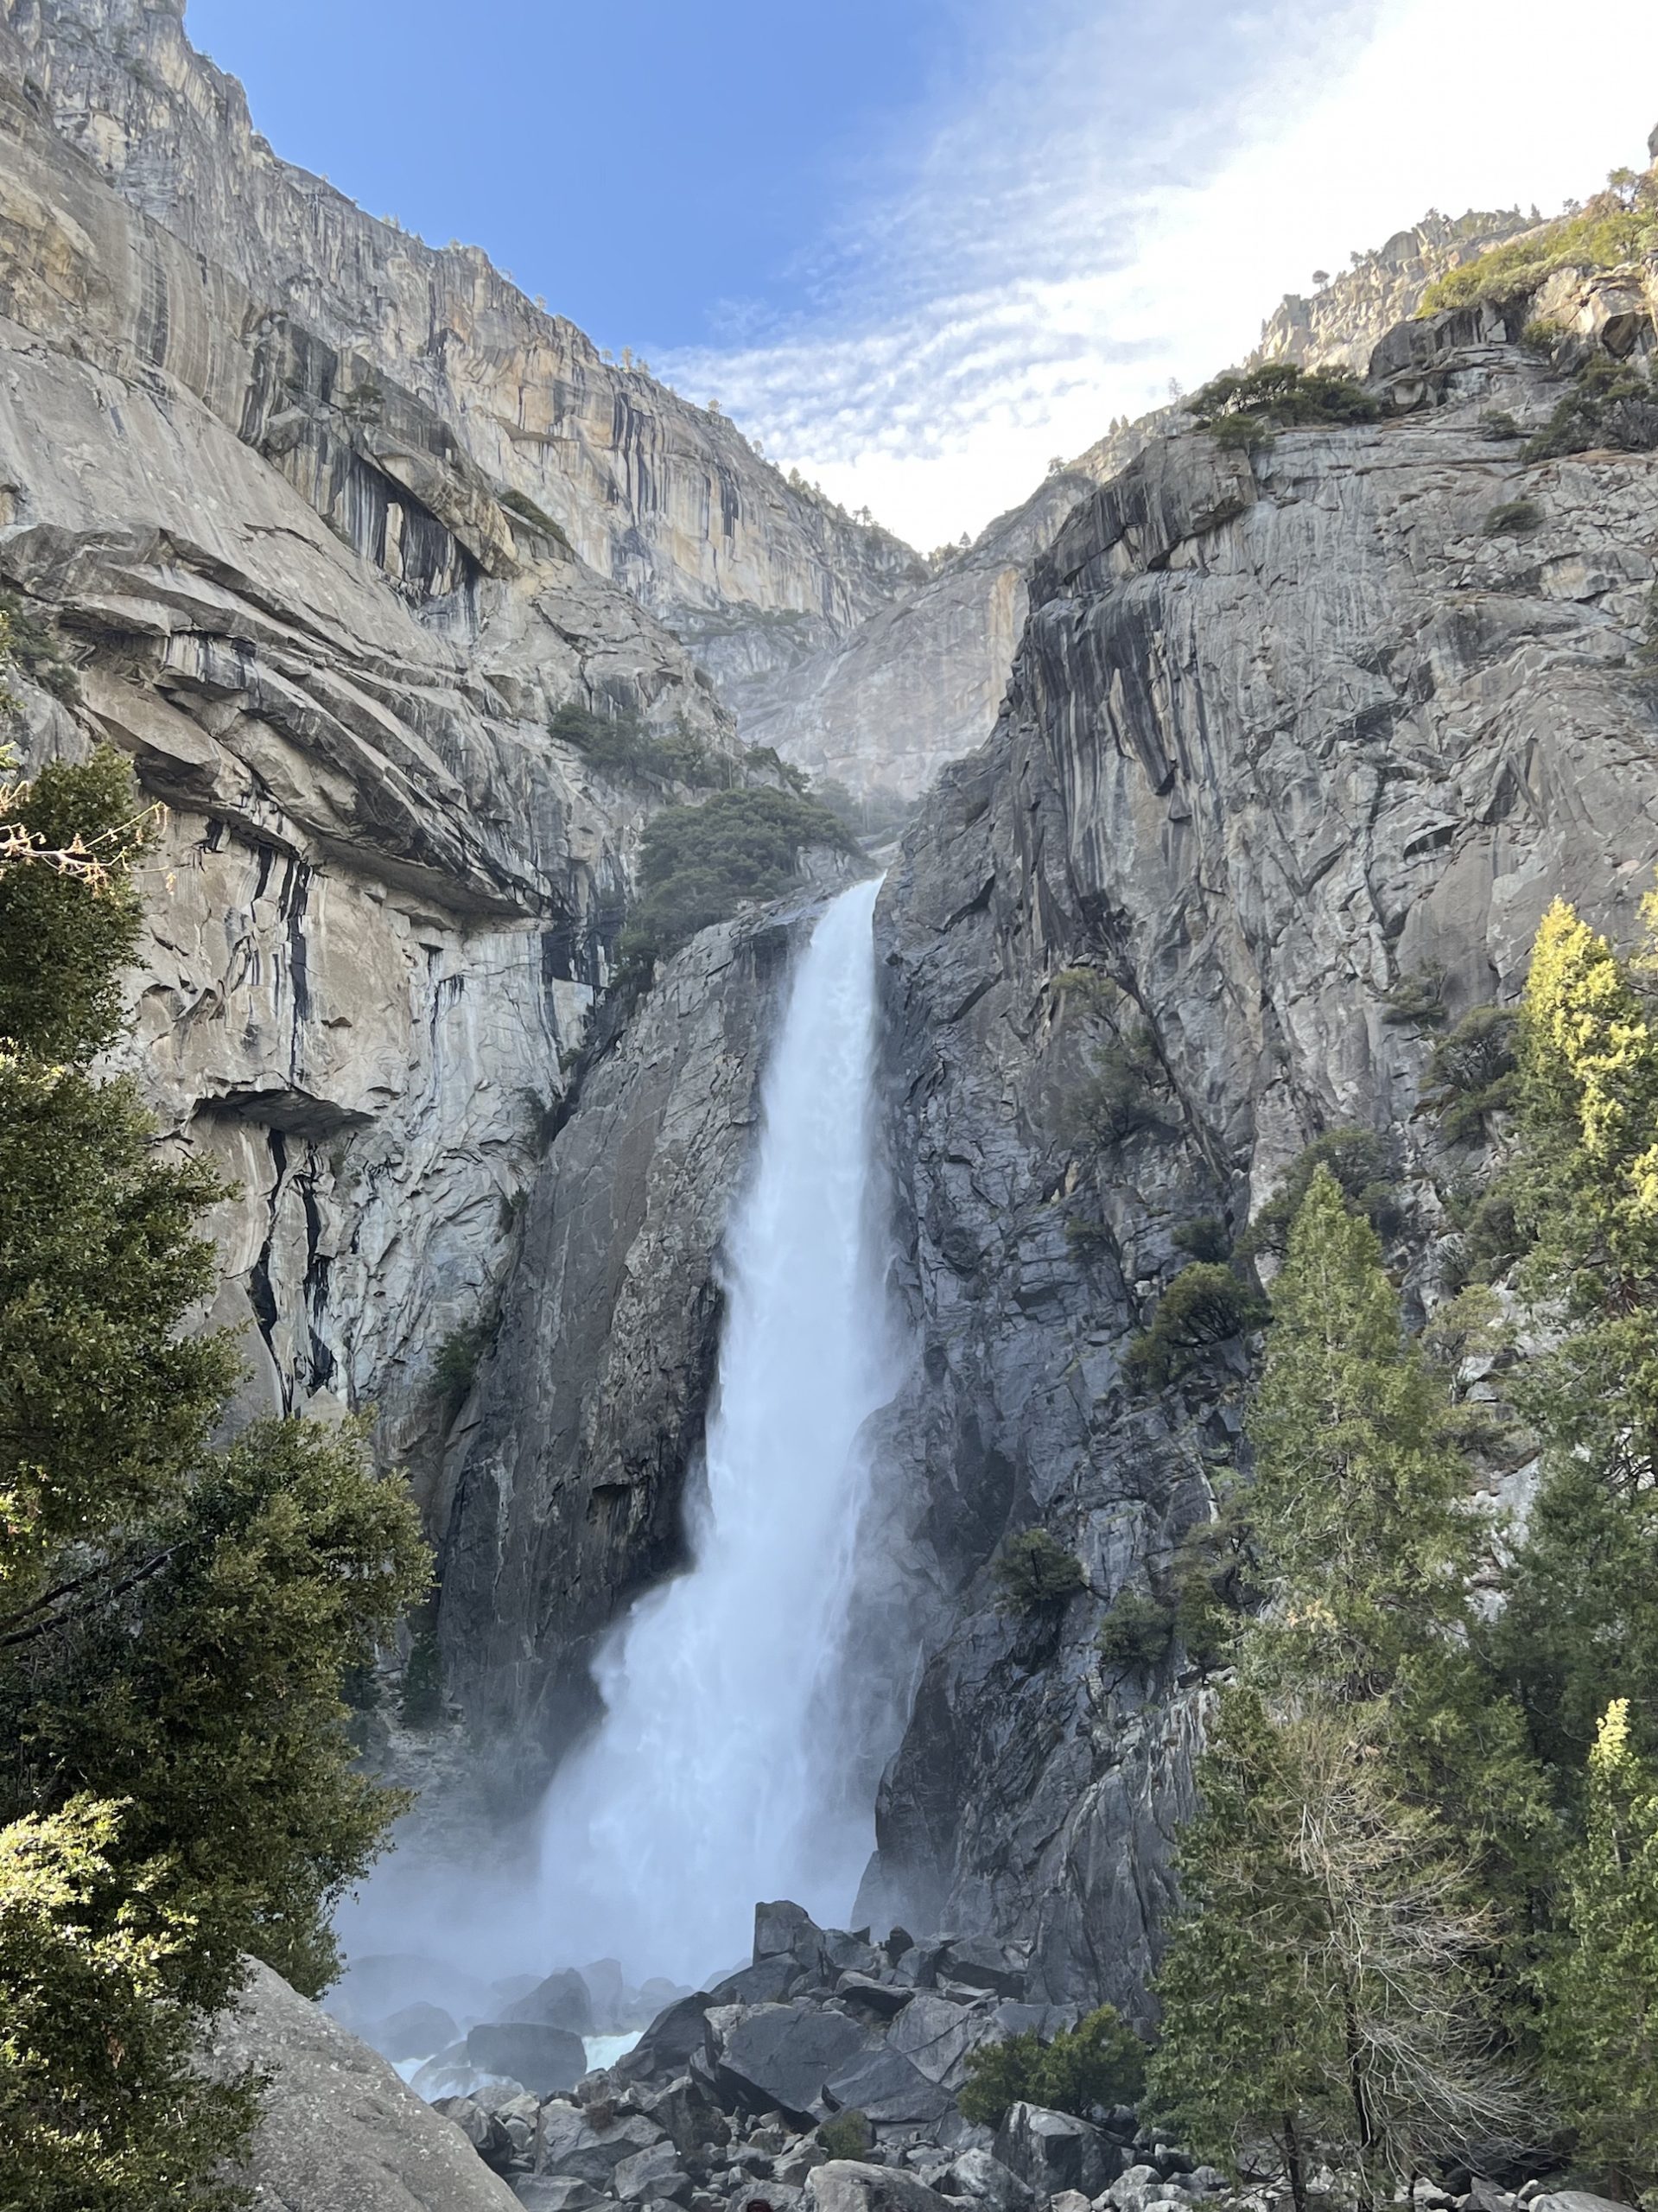
After checking into the room, I recommend two trails which are both quite easy and the views are great. They are the Lower Yosemite fall trail and the Sentinel bridge trail. After 4-5 hours of driving, starting with something easy is great for the family. Below are some pictures to give you a sense of what you can find.
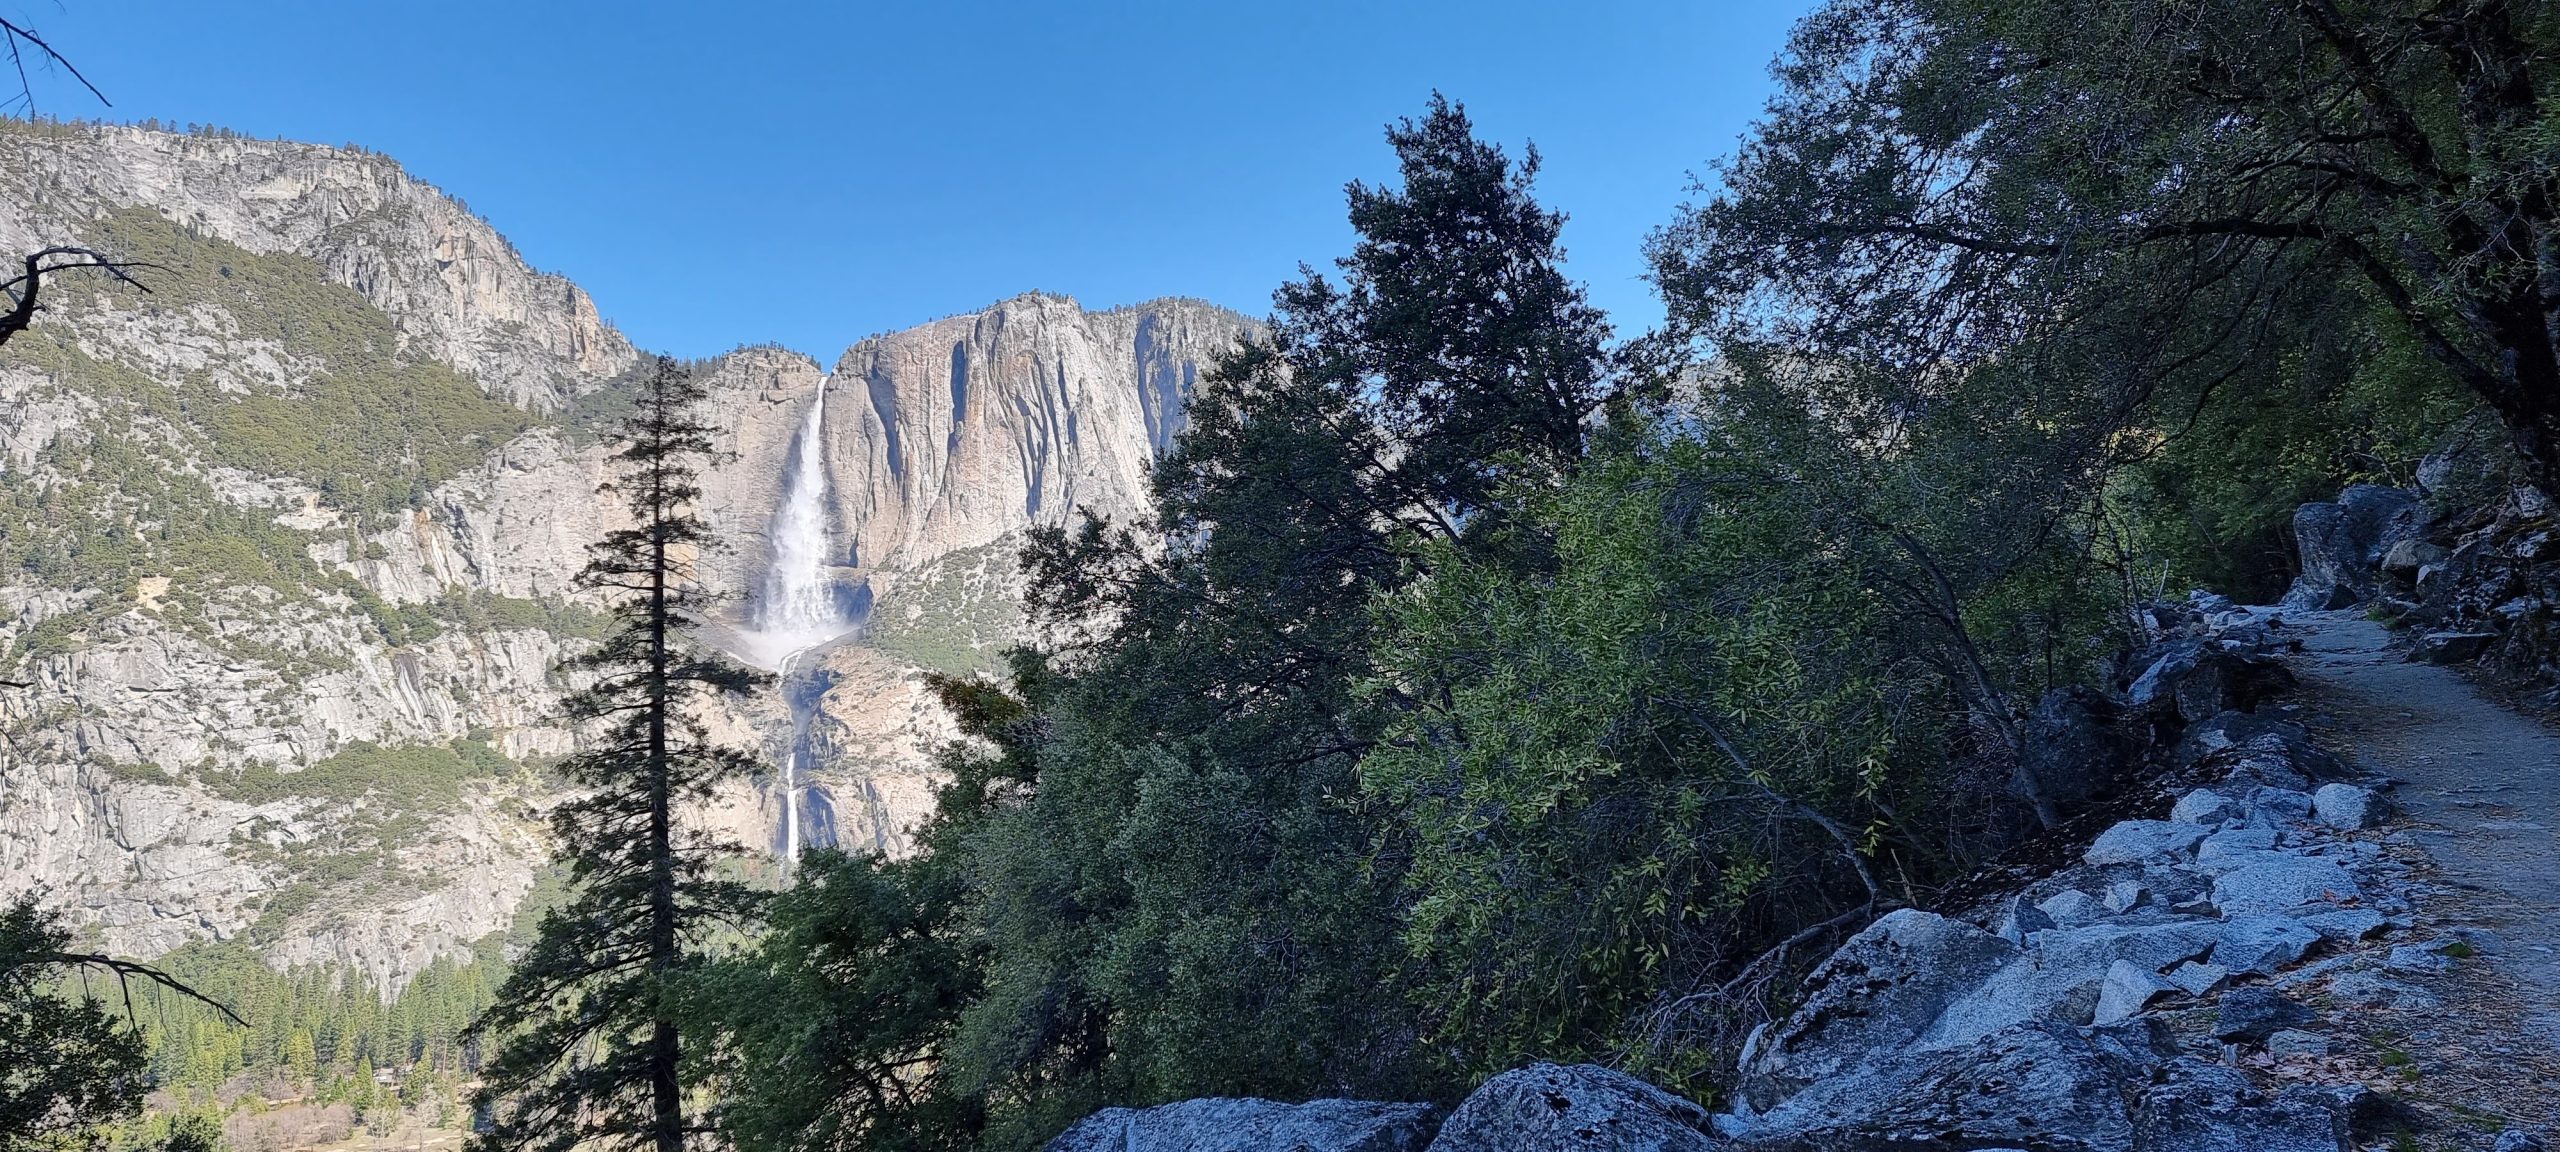
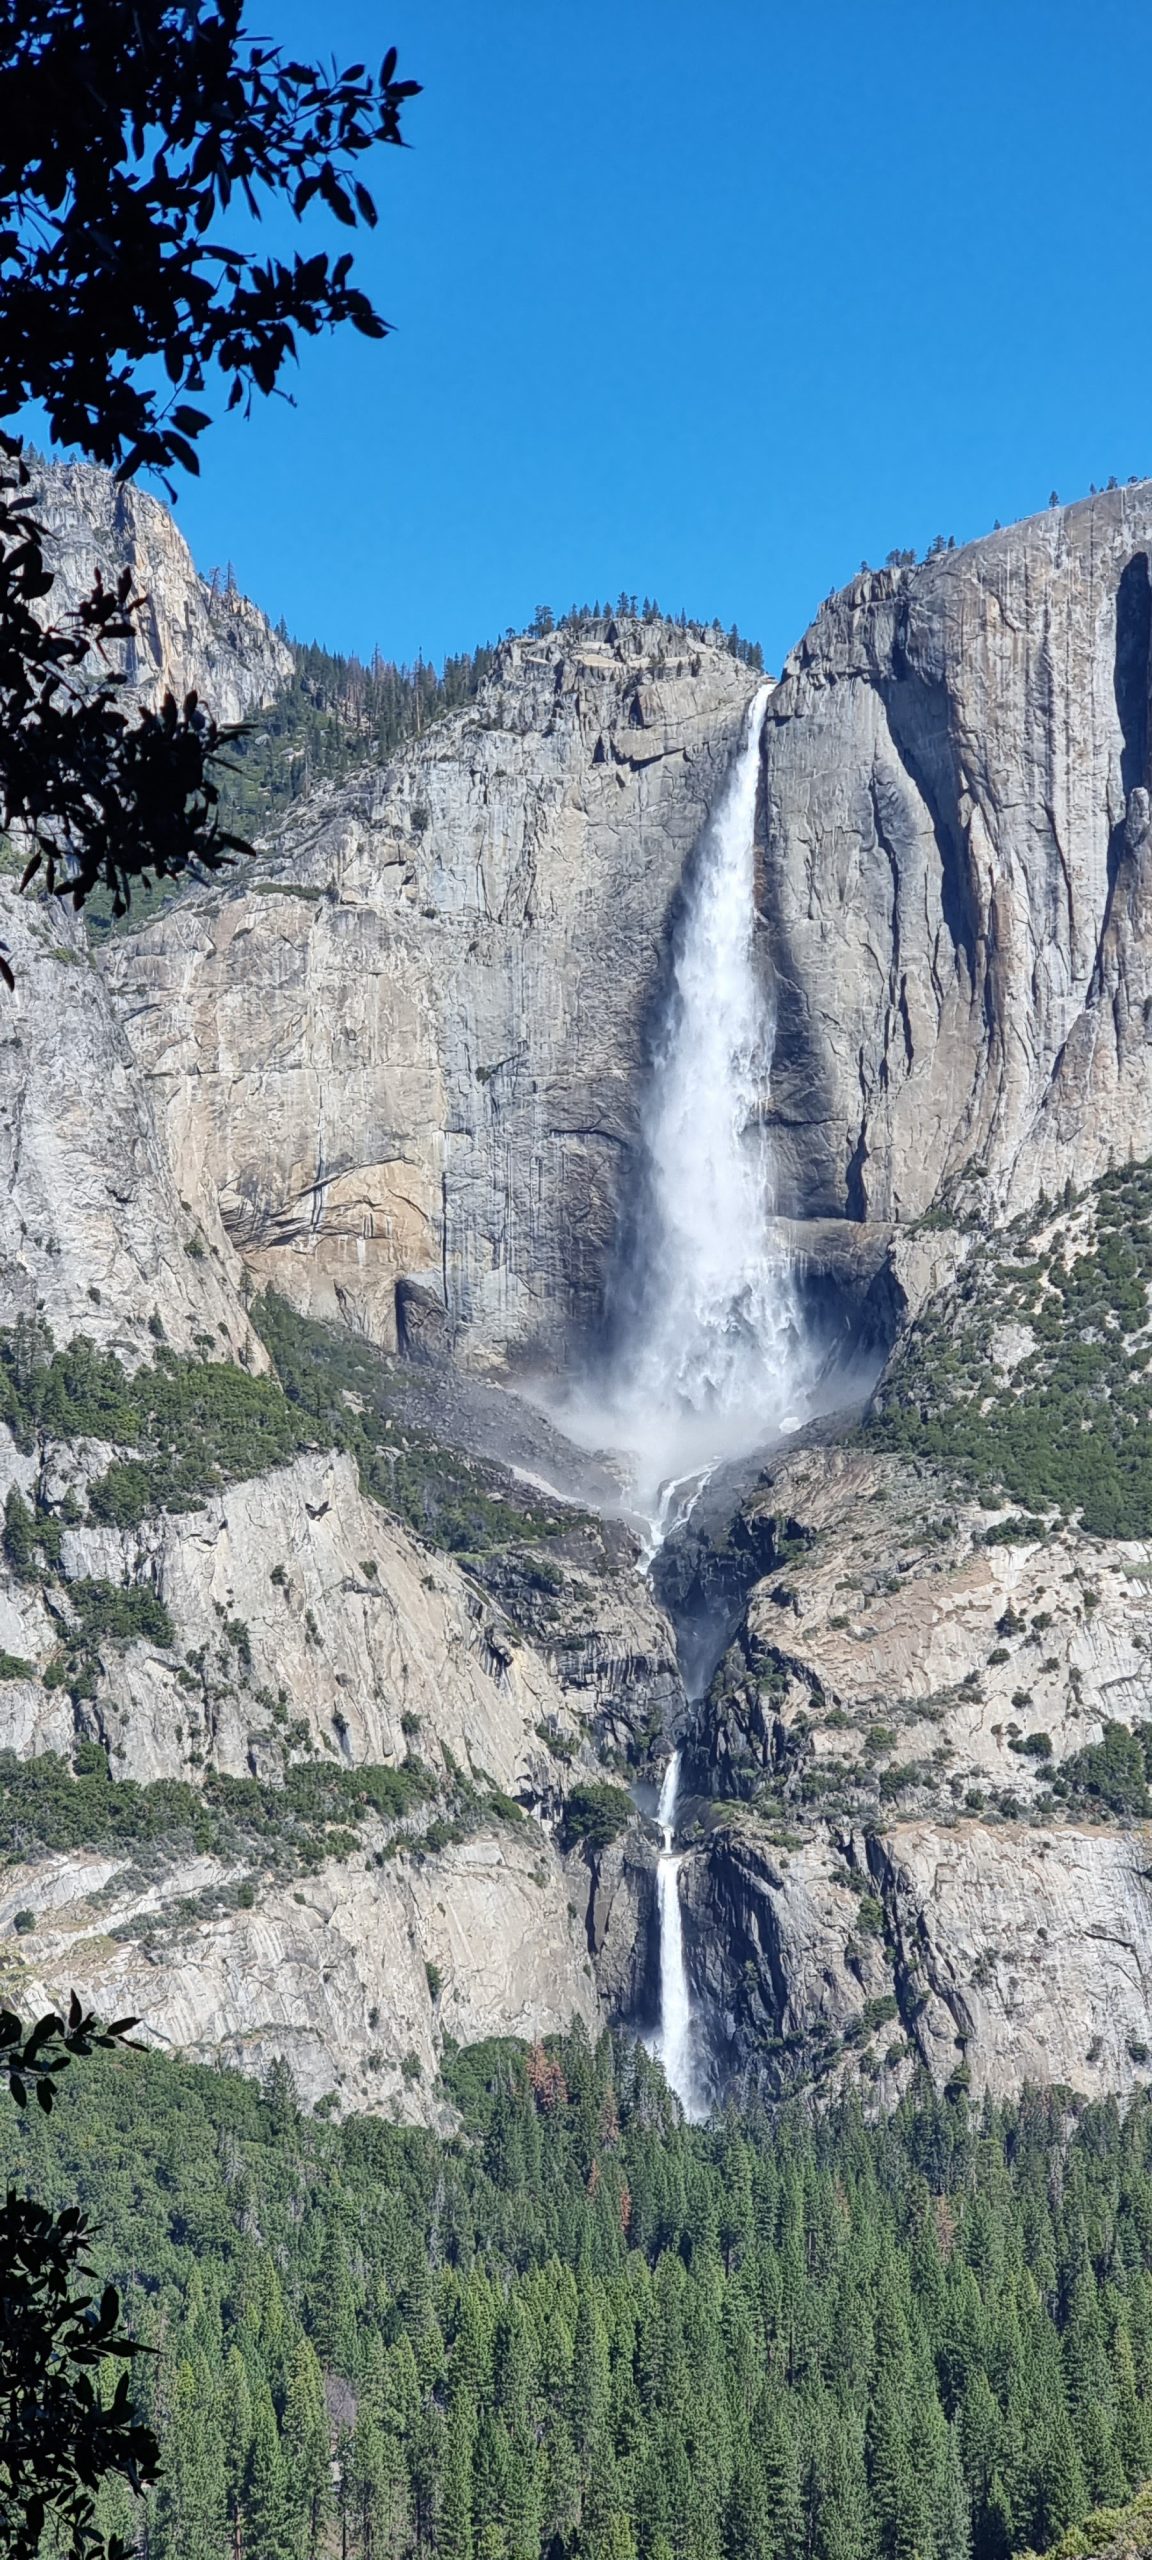
Lower Yosemite fall trail pictures
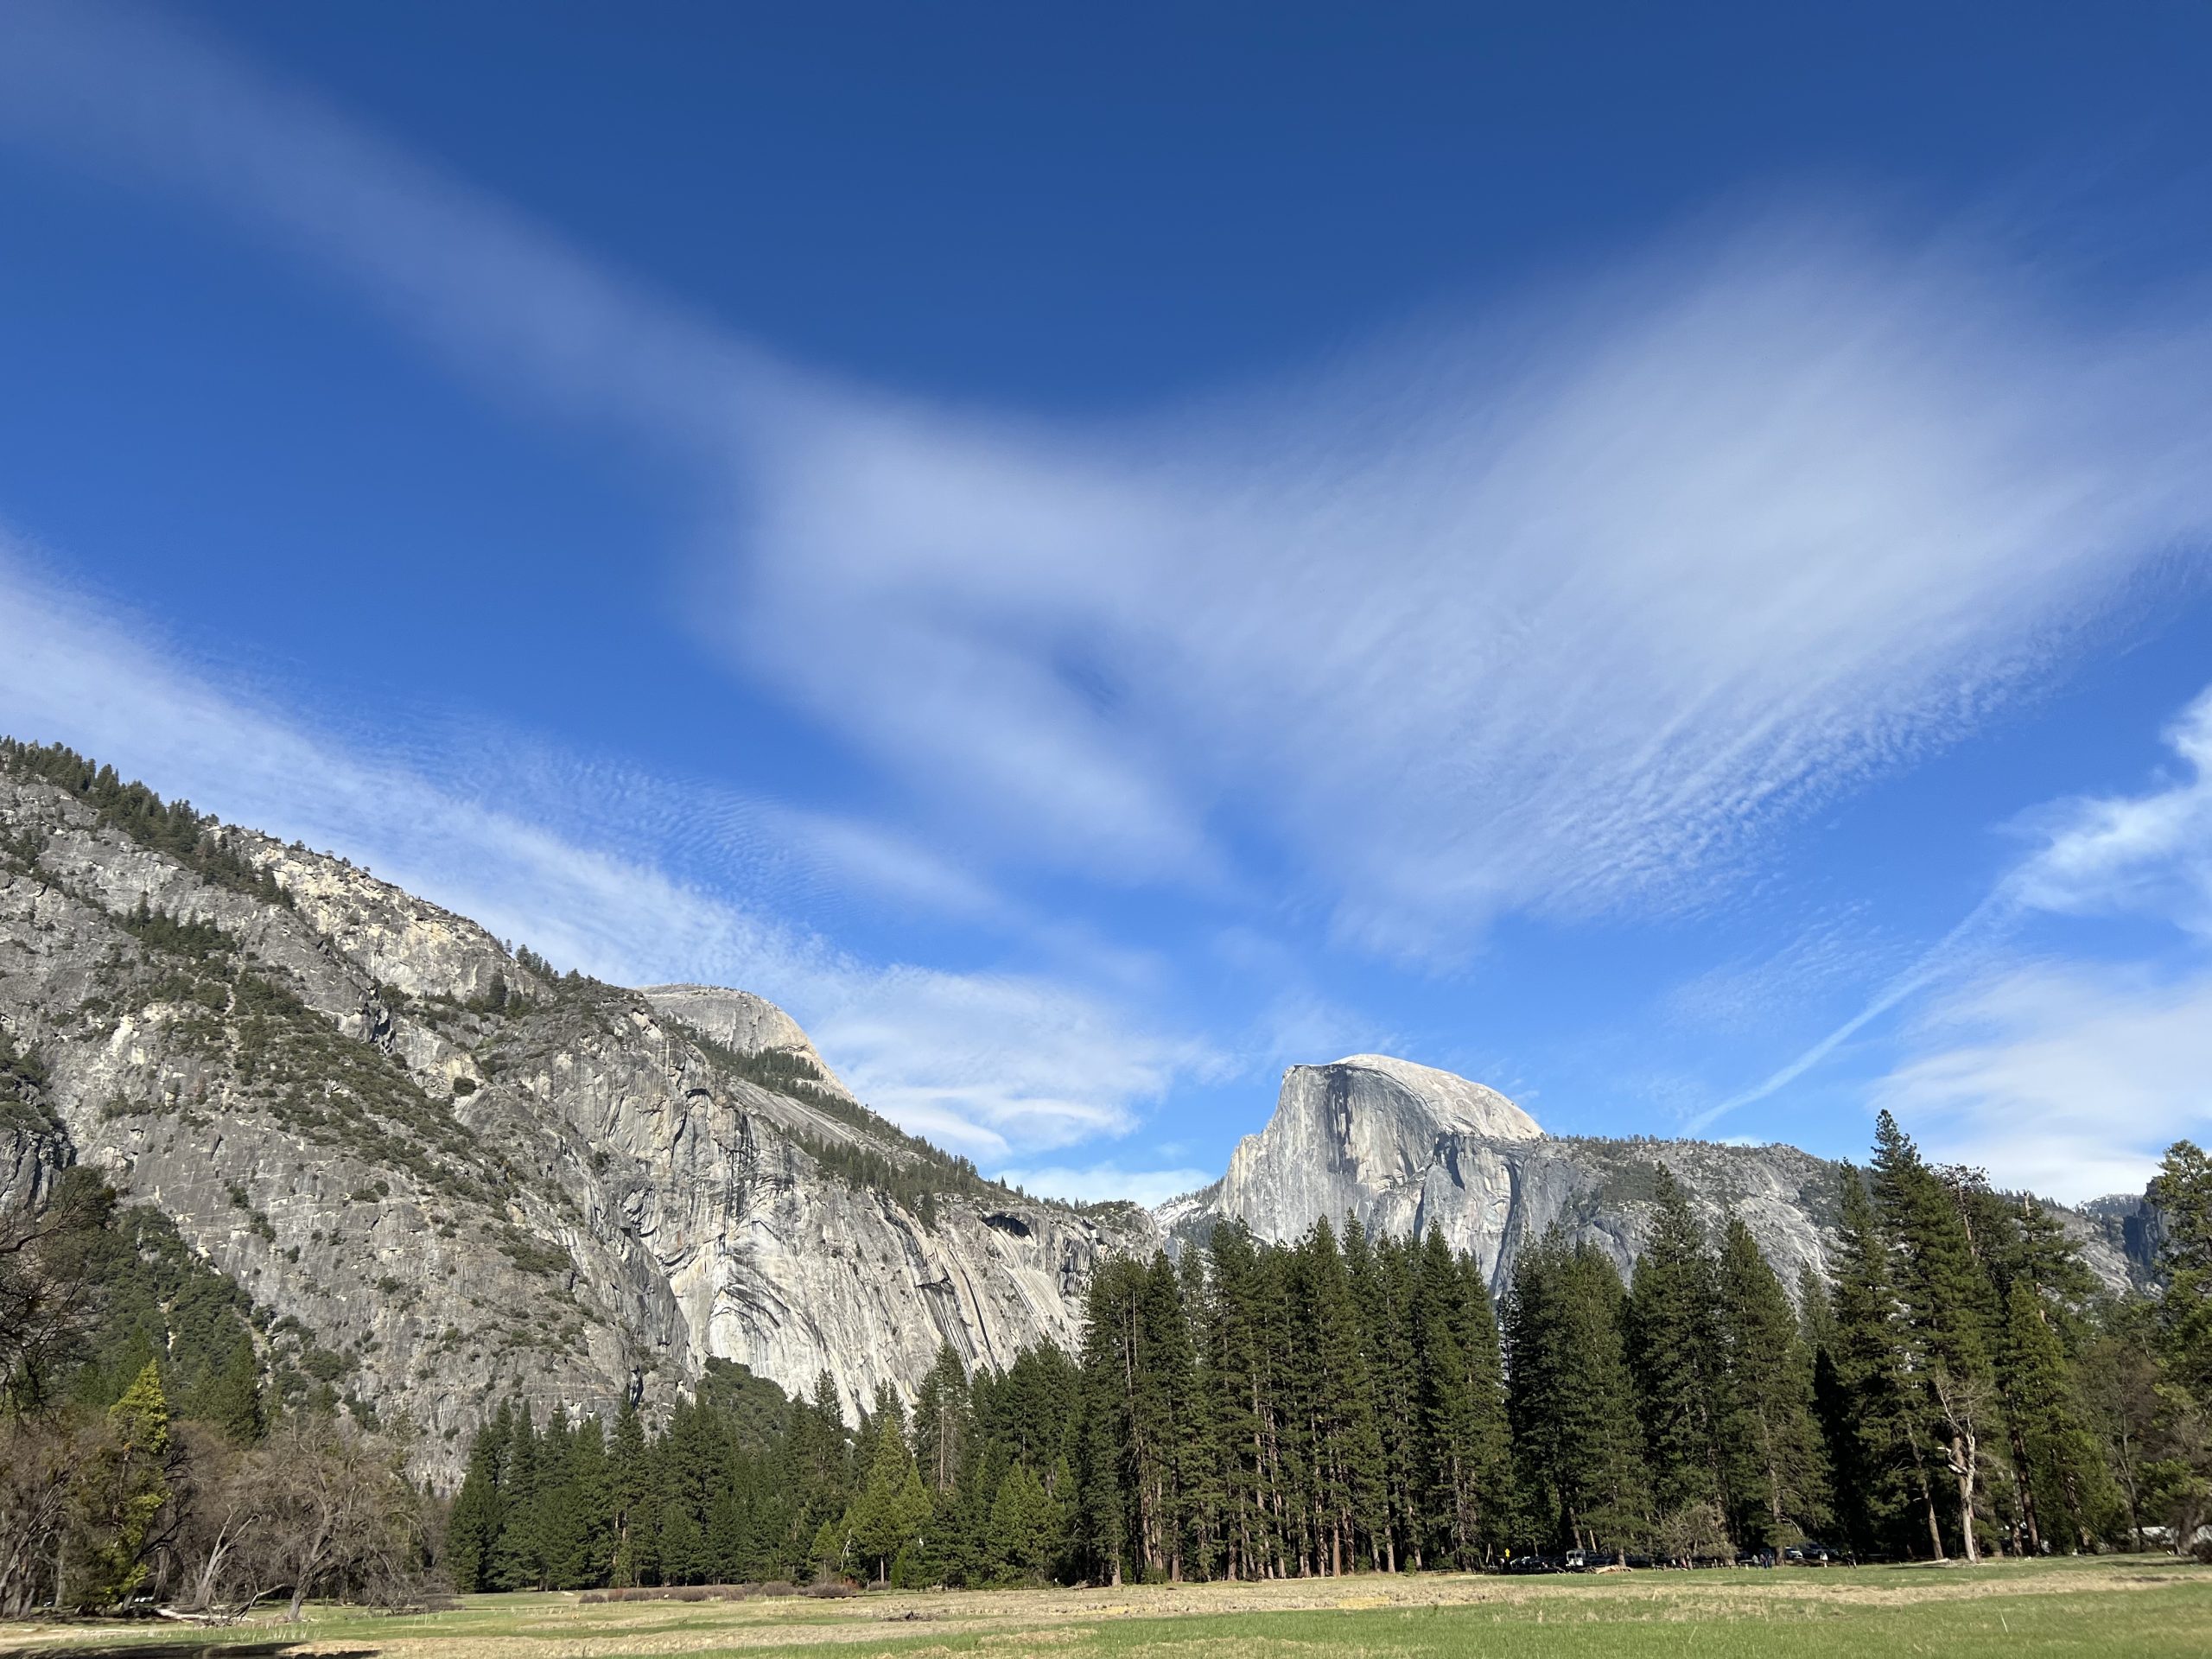
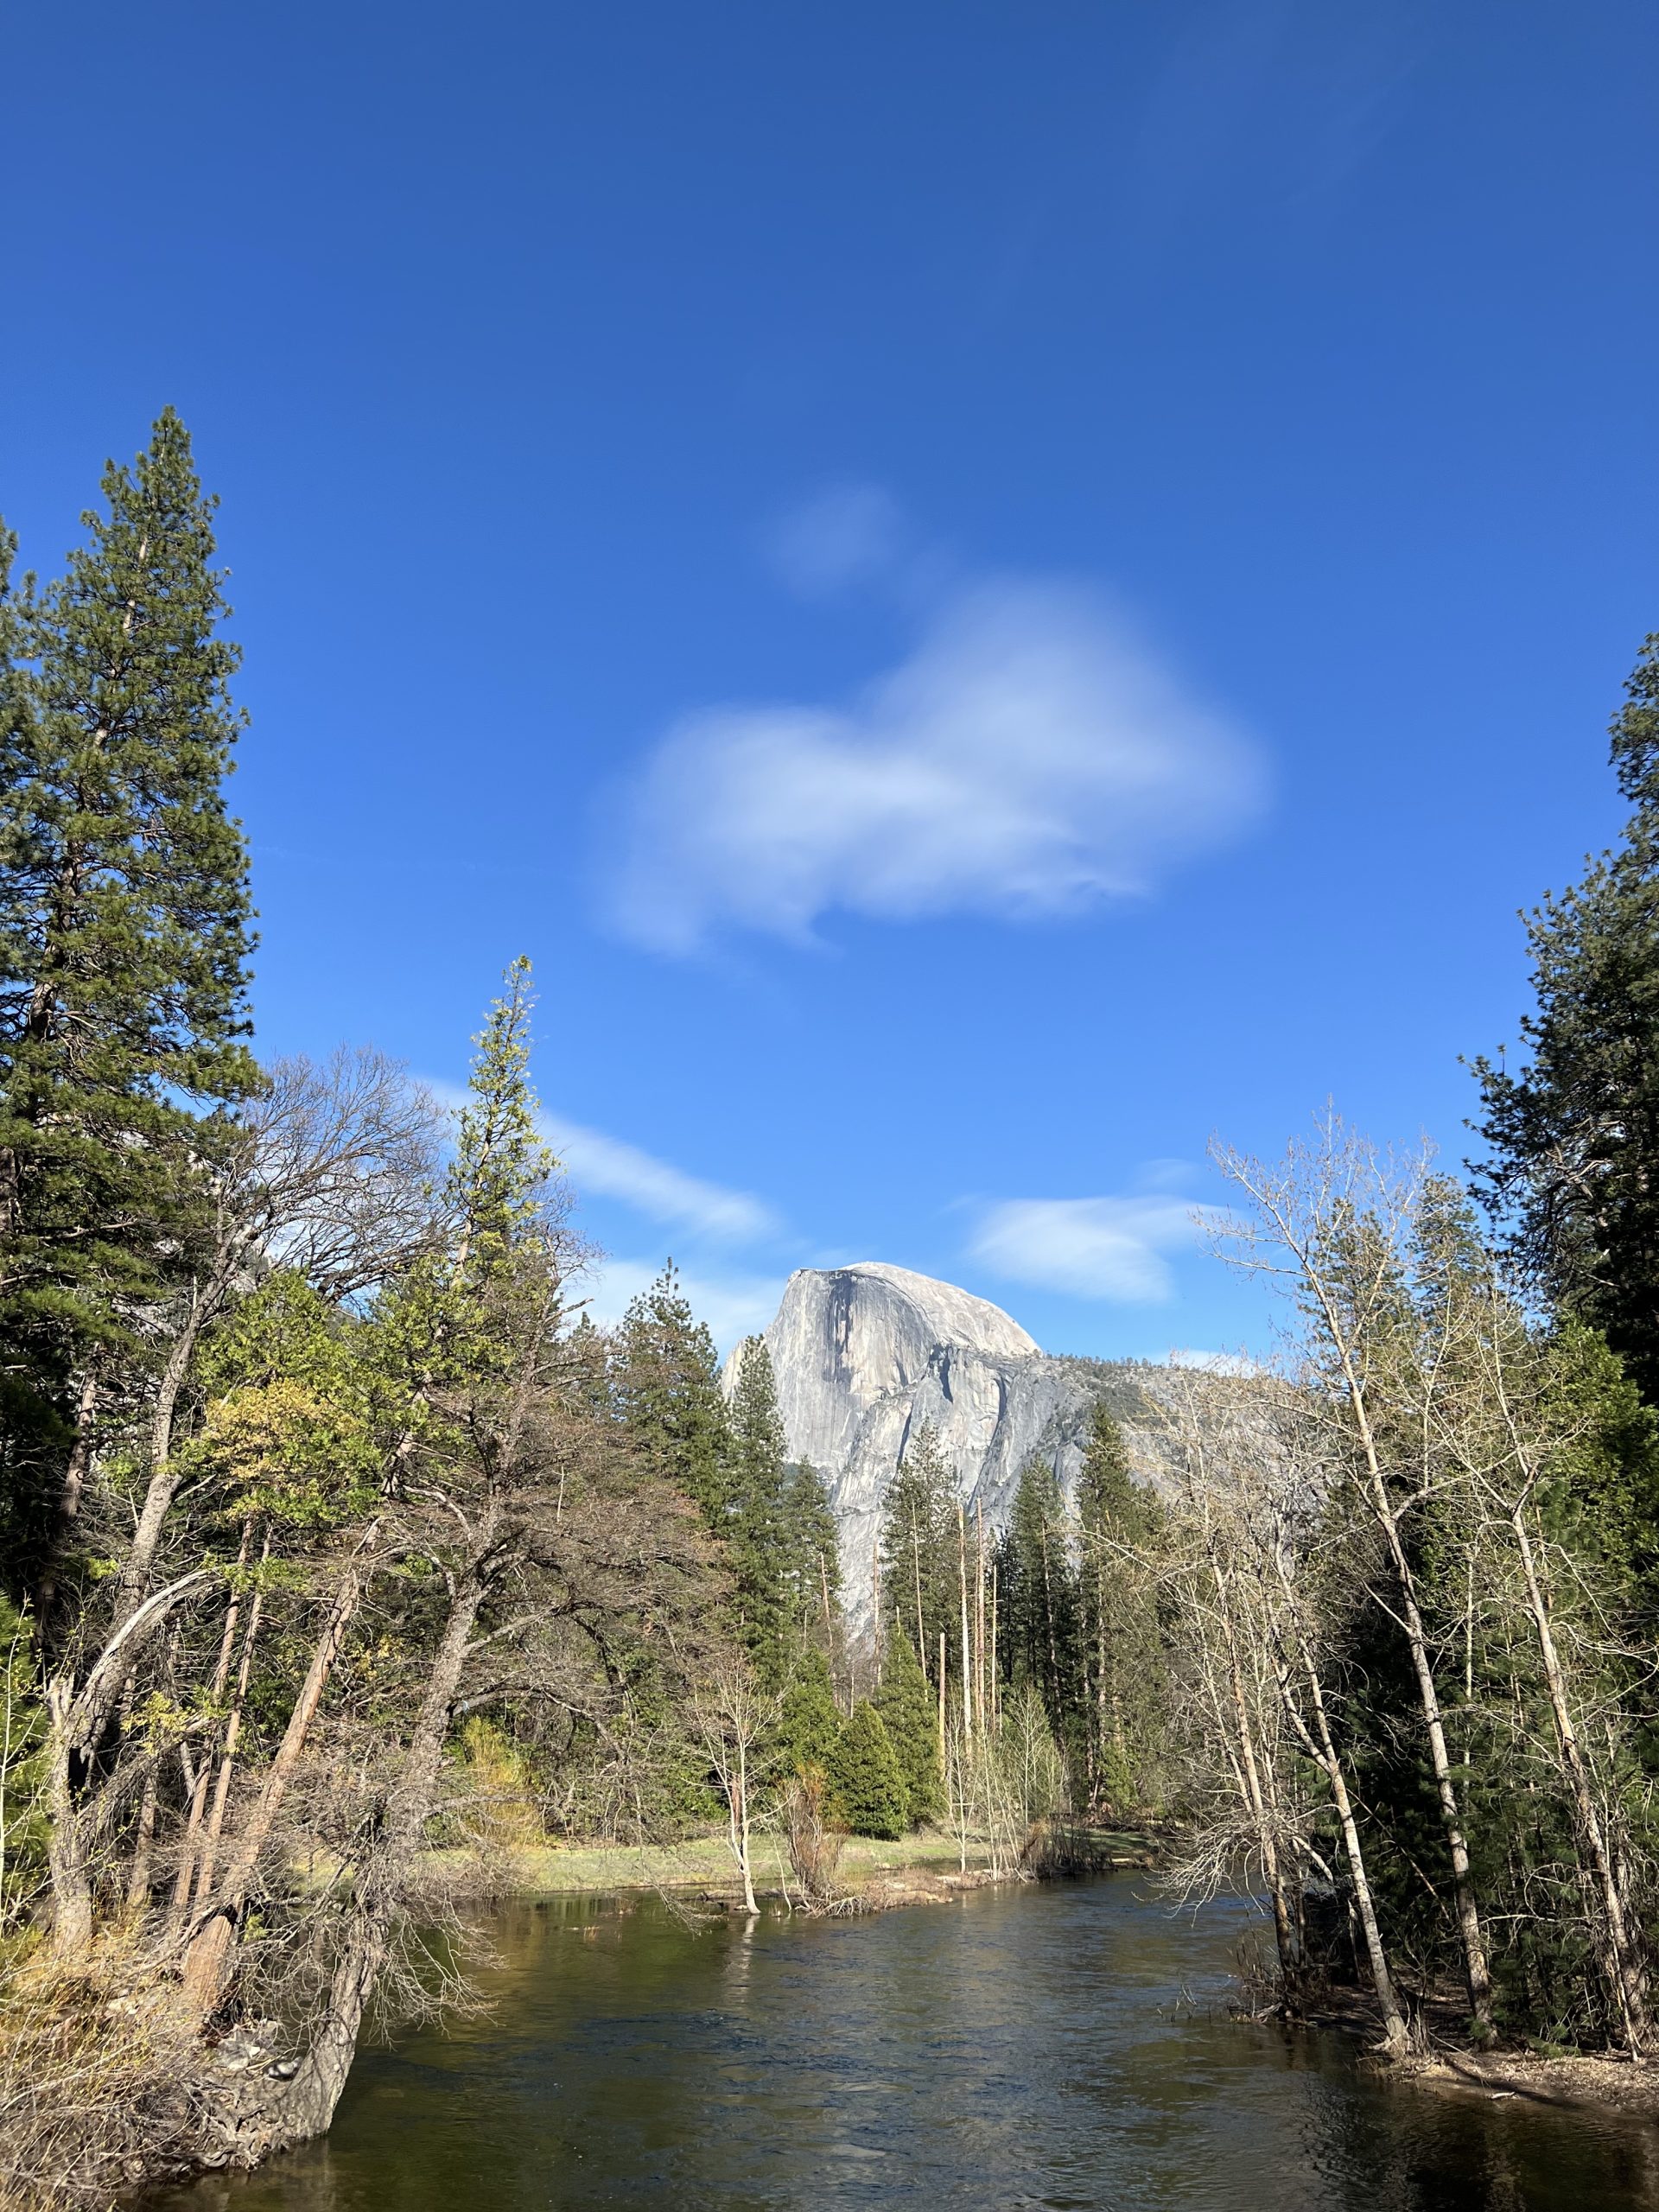
Sentinel Bridge trail
Day 2
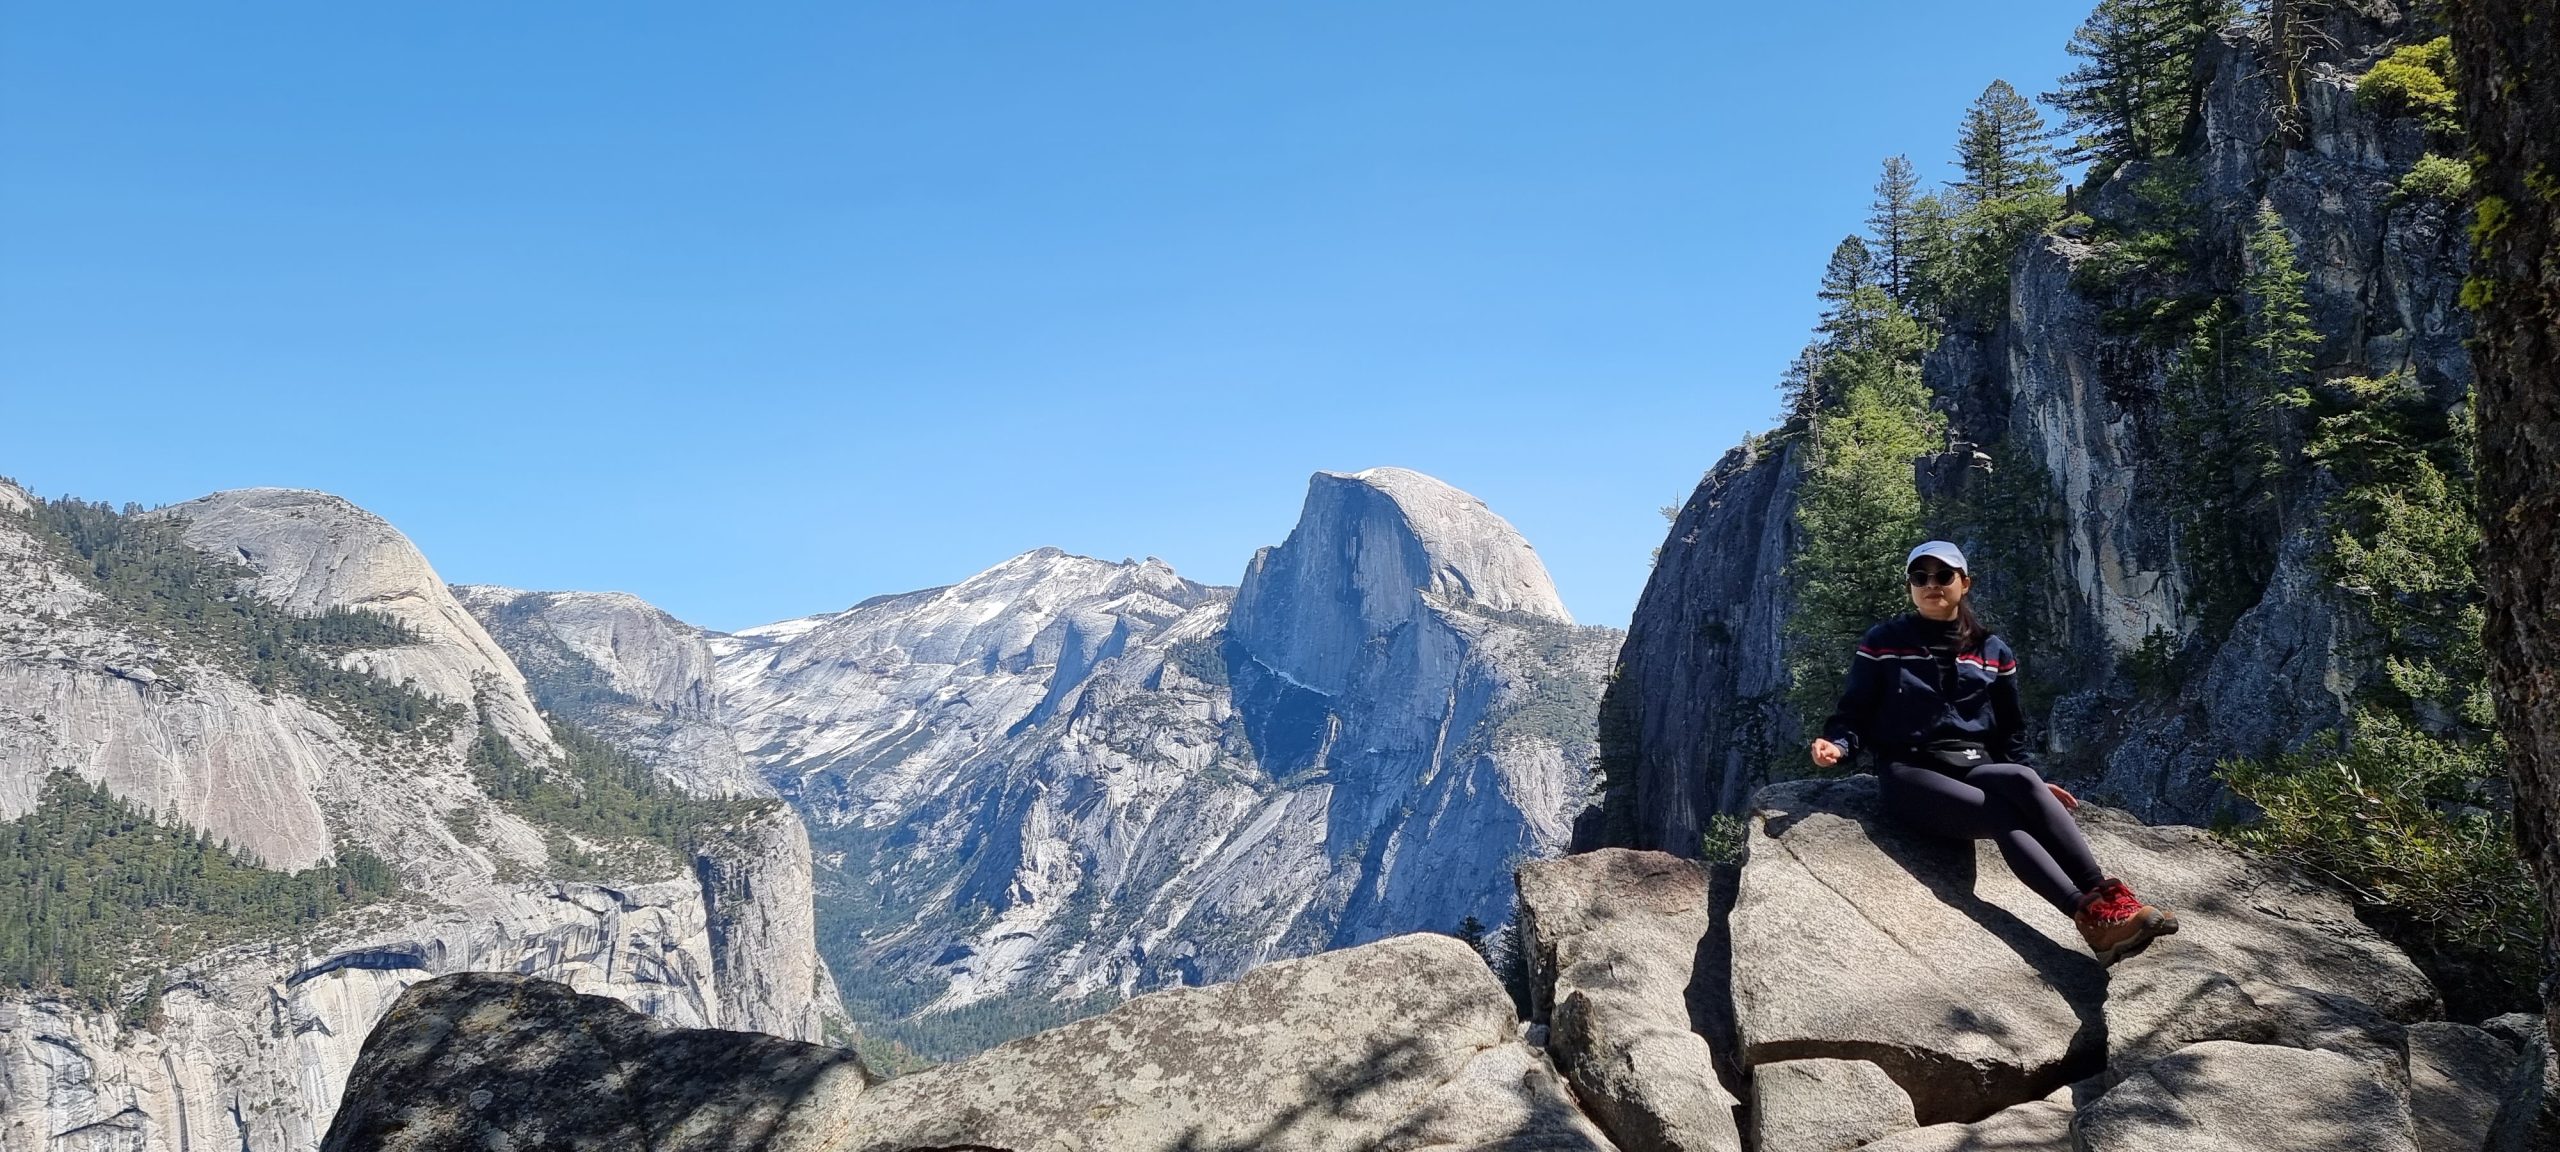
We decided to try a strenuous trail, the Glacier Point trail. It did not disappoint from both the physical taxing angle and the spectacular view angle 🙂
Our child is less than 16 years old so the entire trail took us about 5 hours going up and down, with many rests along the way.
We are novice hikers so there are many parts of the trail that we consider dangerous. And we needed to be very careful about how we walked. You can find a lot of information about the trail online so I won’t include them here. Some pictures we took along the way are below
We got quite tired after finishing the glacier point trail so we didn’t do anything else for day 2. We just relaxed.
Day 3
Finding out where to go on Day 3 was a bit tricky because we knew we had to head back home. And given the long winding roads ahead, we didn’t want to drive through them when it was dark. So basically we only had the morning until early afternoon to explore further.
We decided to try the Mirror Lake trail and well, we made the right call. A few notes here:
- From Yosemite Valley Lodge, it is about 10 mins drive to where we can park to start the trail. We can walk there but the distance is about 3 miles.
- It is not easy to find a parking lot so it’s better to be there early.
- After you park, it is another 30-45 mins walking to get to the actual Mirror Lake.
- It is an easy trail.
The view of the lake without sunlight is not great at all as you can see below
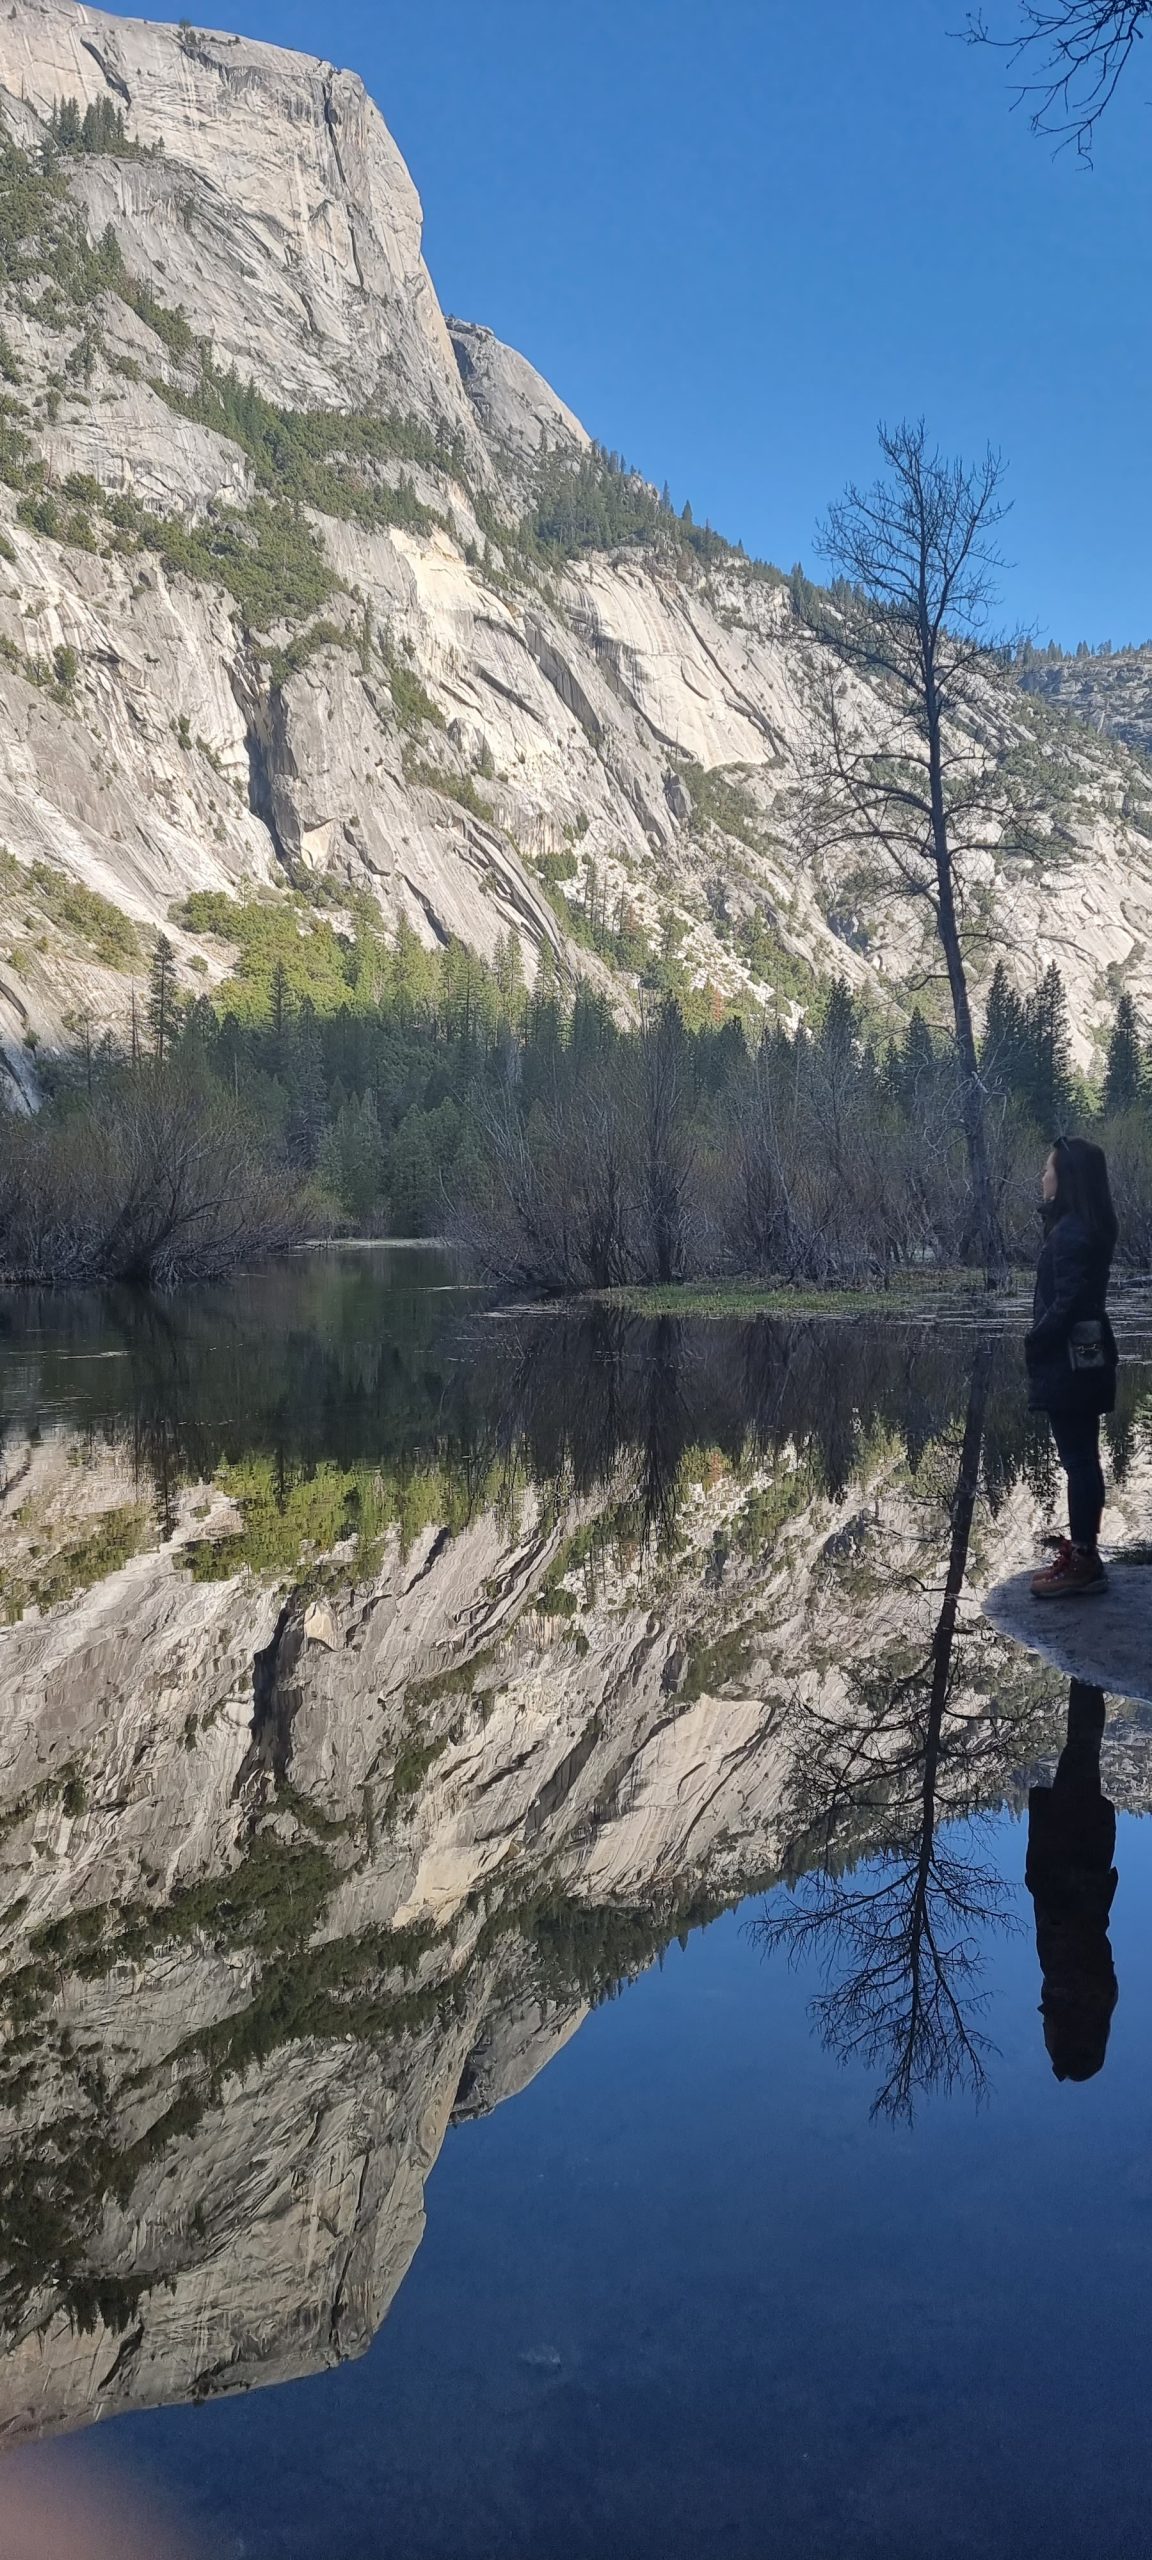
With enough sunlight, this is the spectacular view that you can see
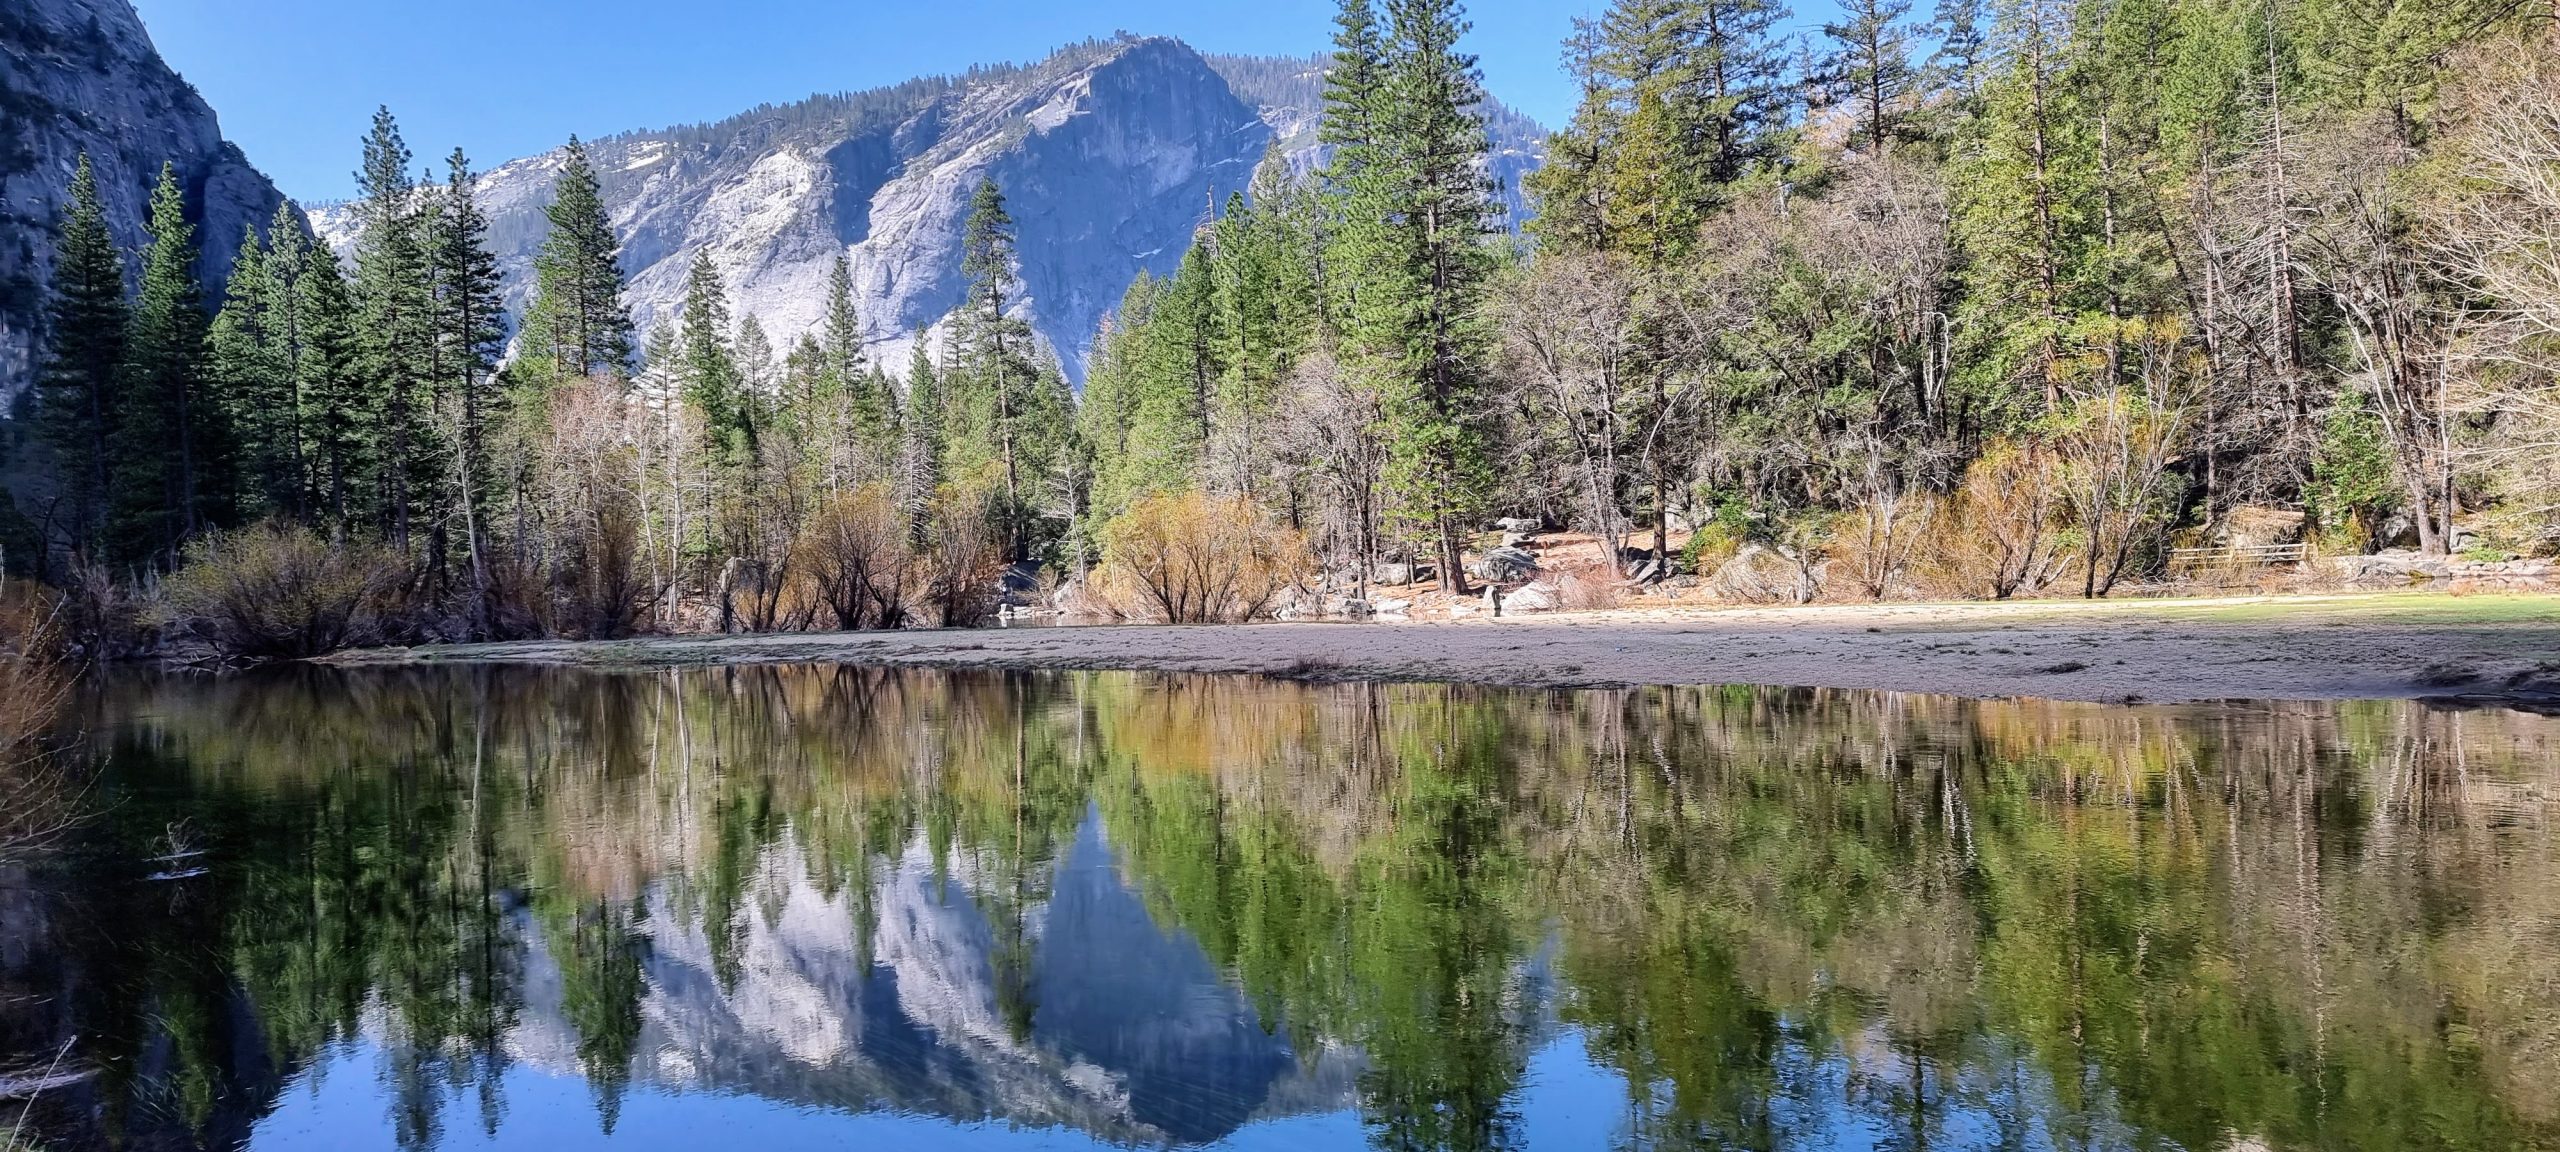
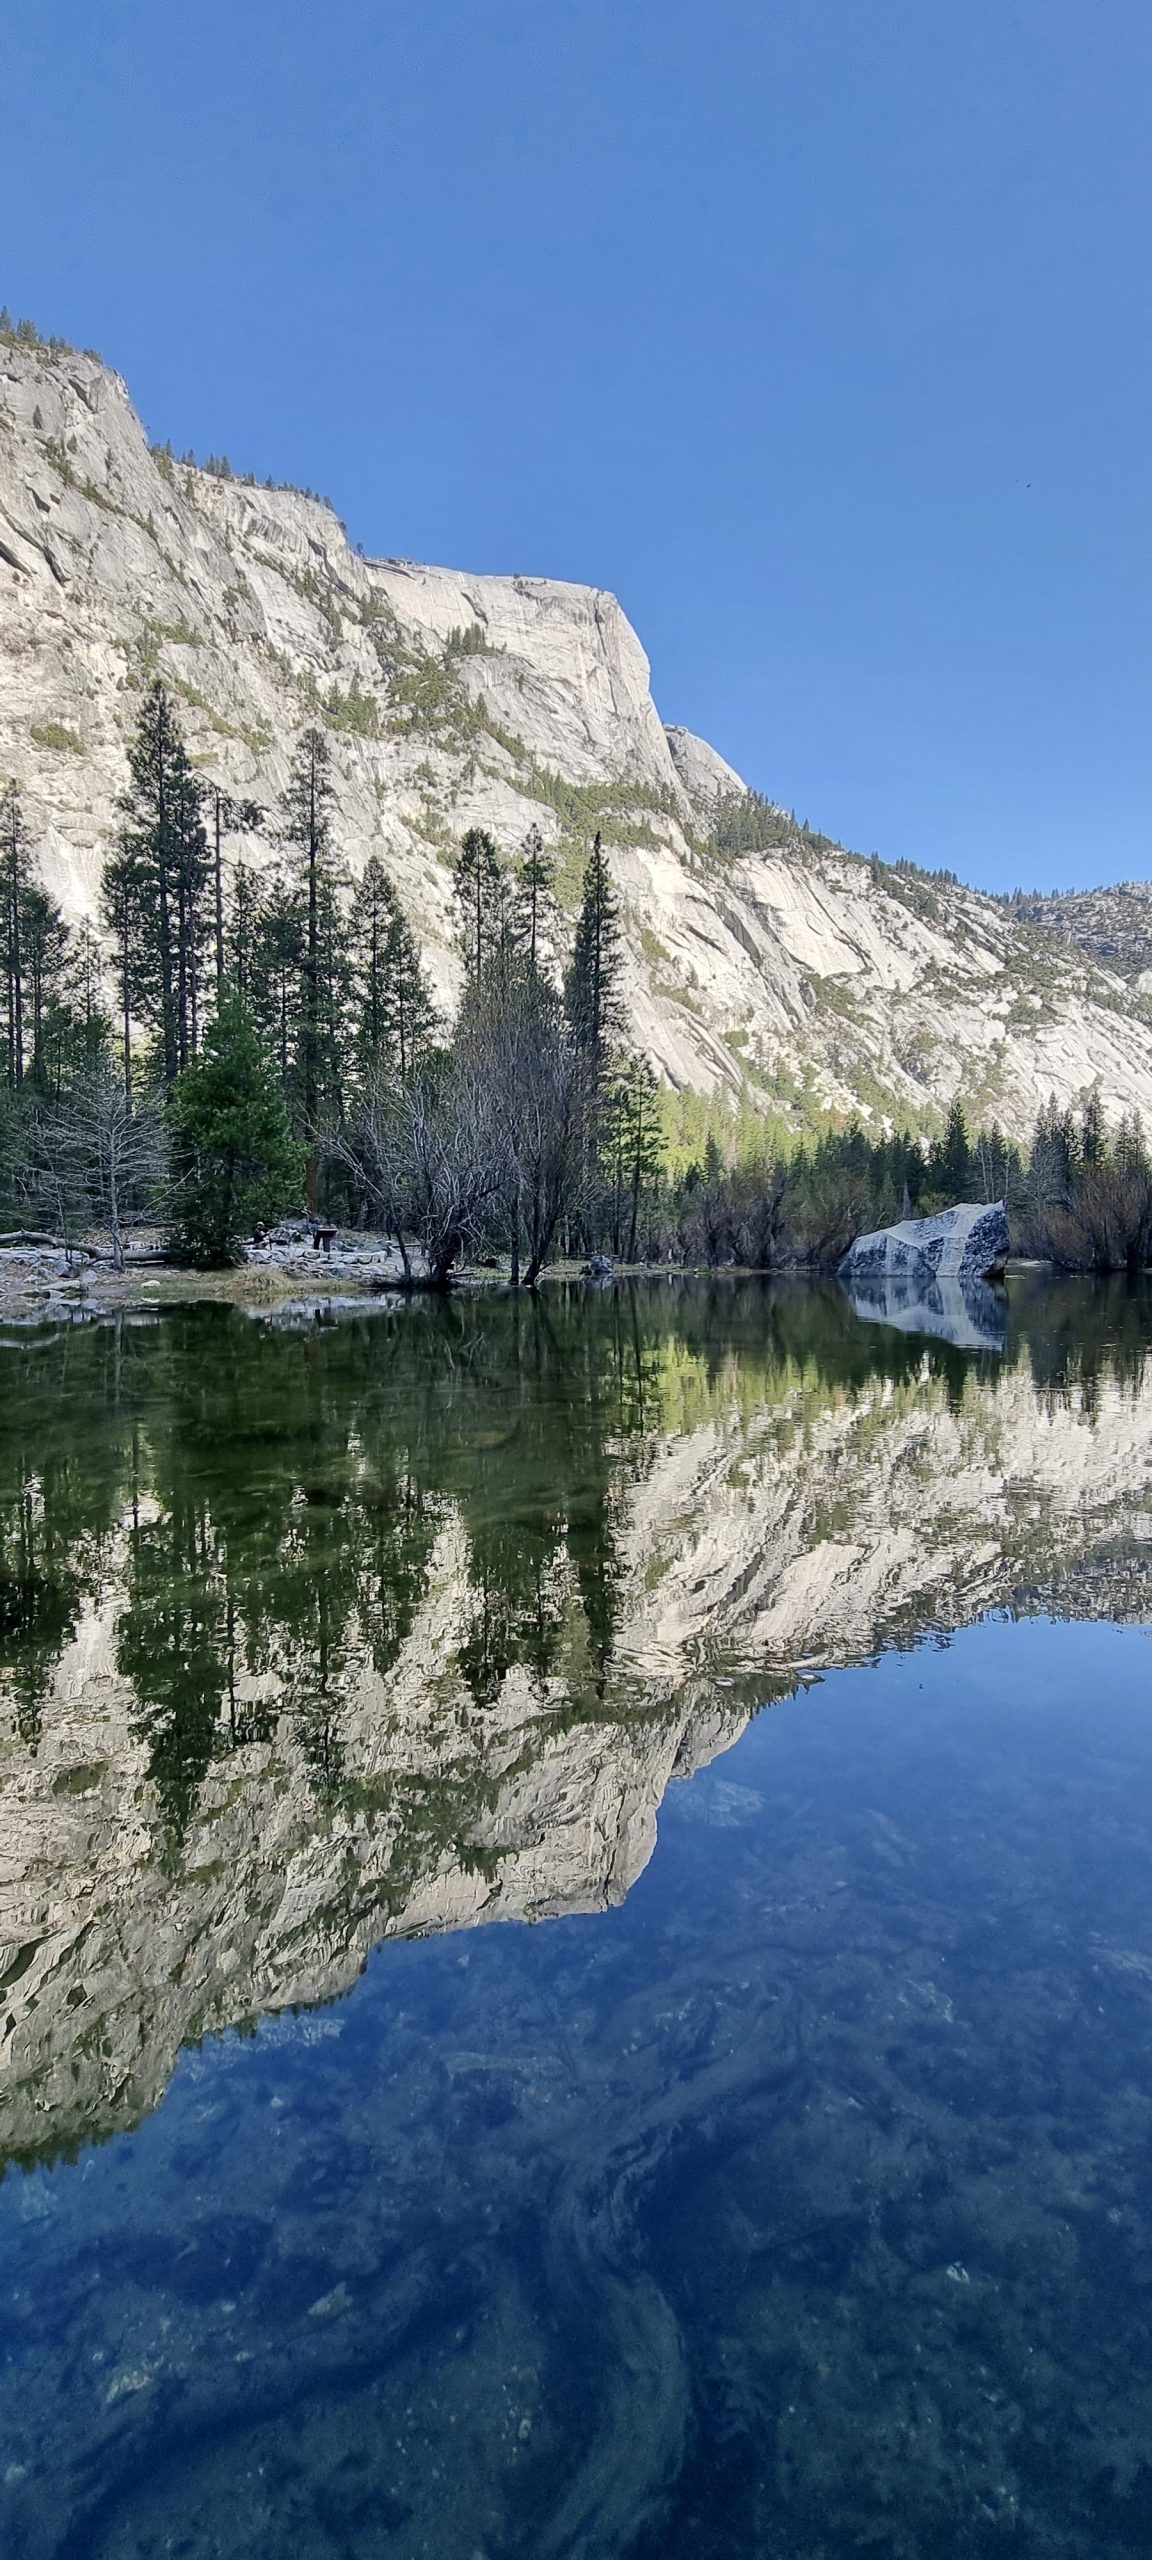
So the trick is to be there early enough to find a parking slot but not too early that there is not enough sunlight for you to enjoy the view.
Share this with a friend
If you enjoyed this article and found it valuable, I’d greatly appreciate it if you could share it with your friends or anyone else who might be interested in this topic. Simply send them the link to this post, or share it on your favorite social media platforms. Your support helps me reach more readers and continue providing valuable content.
Last but not least, I recently created this group on Facebook called Asian Expats in the US so that we can share/discuss more tips directly. Feel free to join.
That’s all from me for now. Hope that this has been helpful. If you have any other suggestions/tips to share, feel free to drop them in the comment section.
Chandler